.jpg)
Bardon
Drainage, Edging, Retaining Wall, Rock Wall, Decking, Irrigation, Planting & Mulching
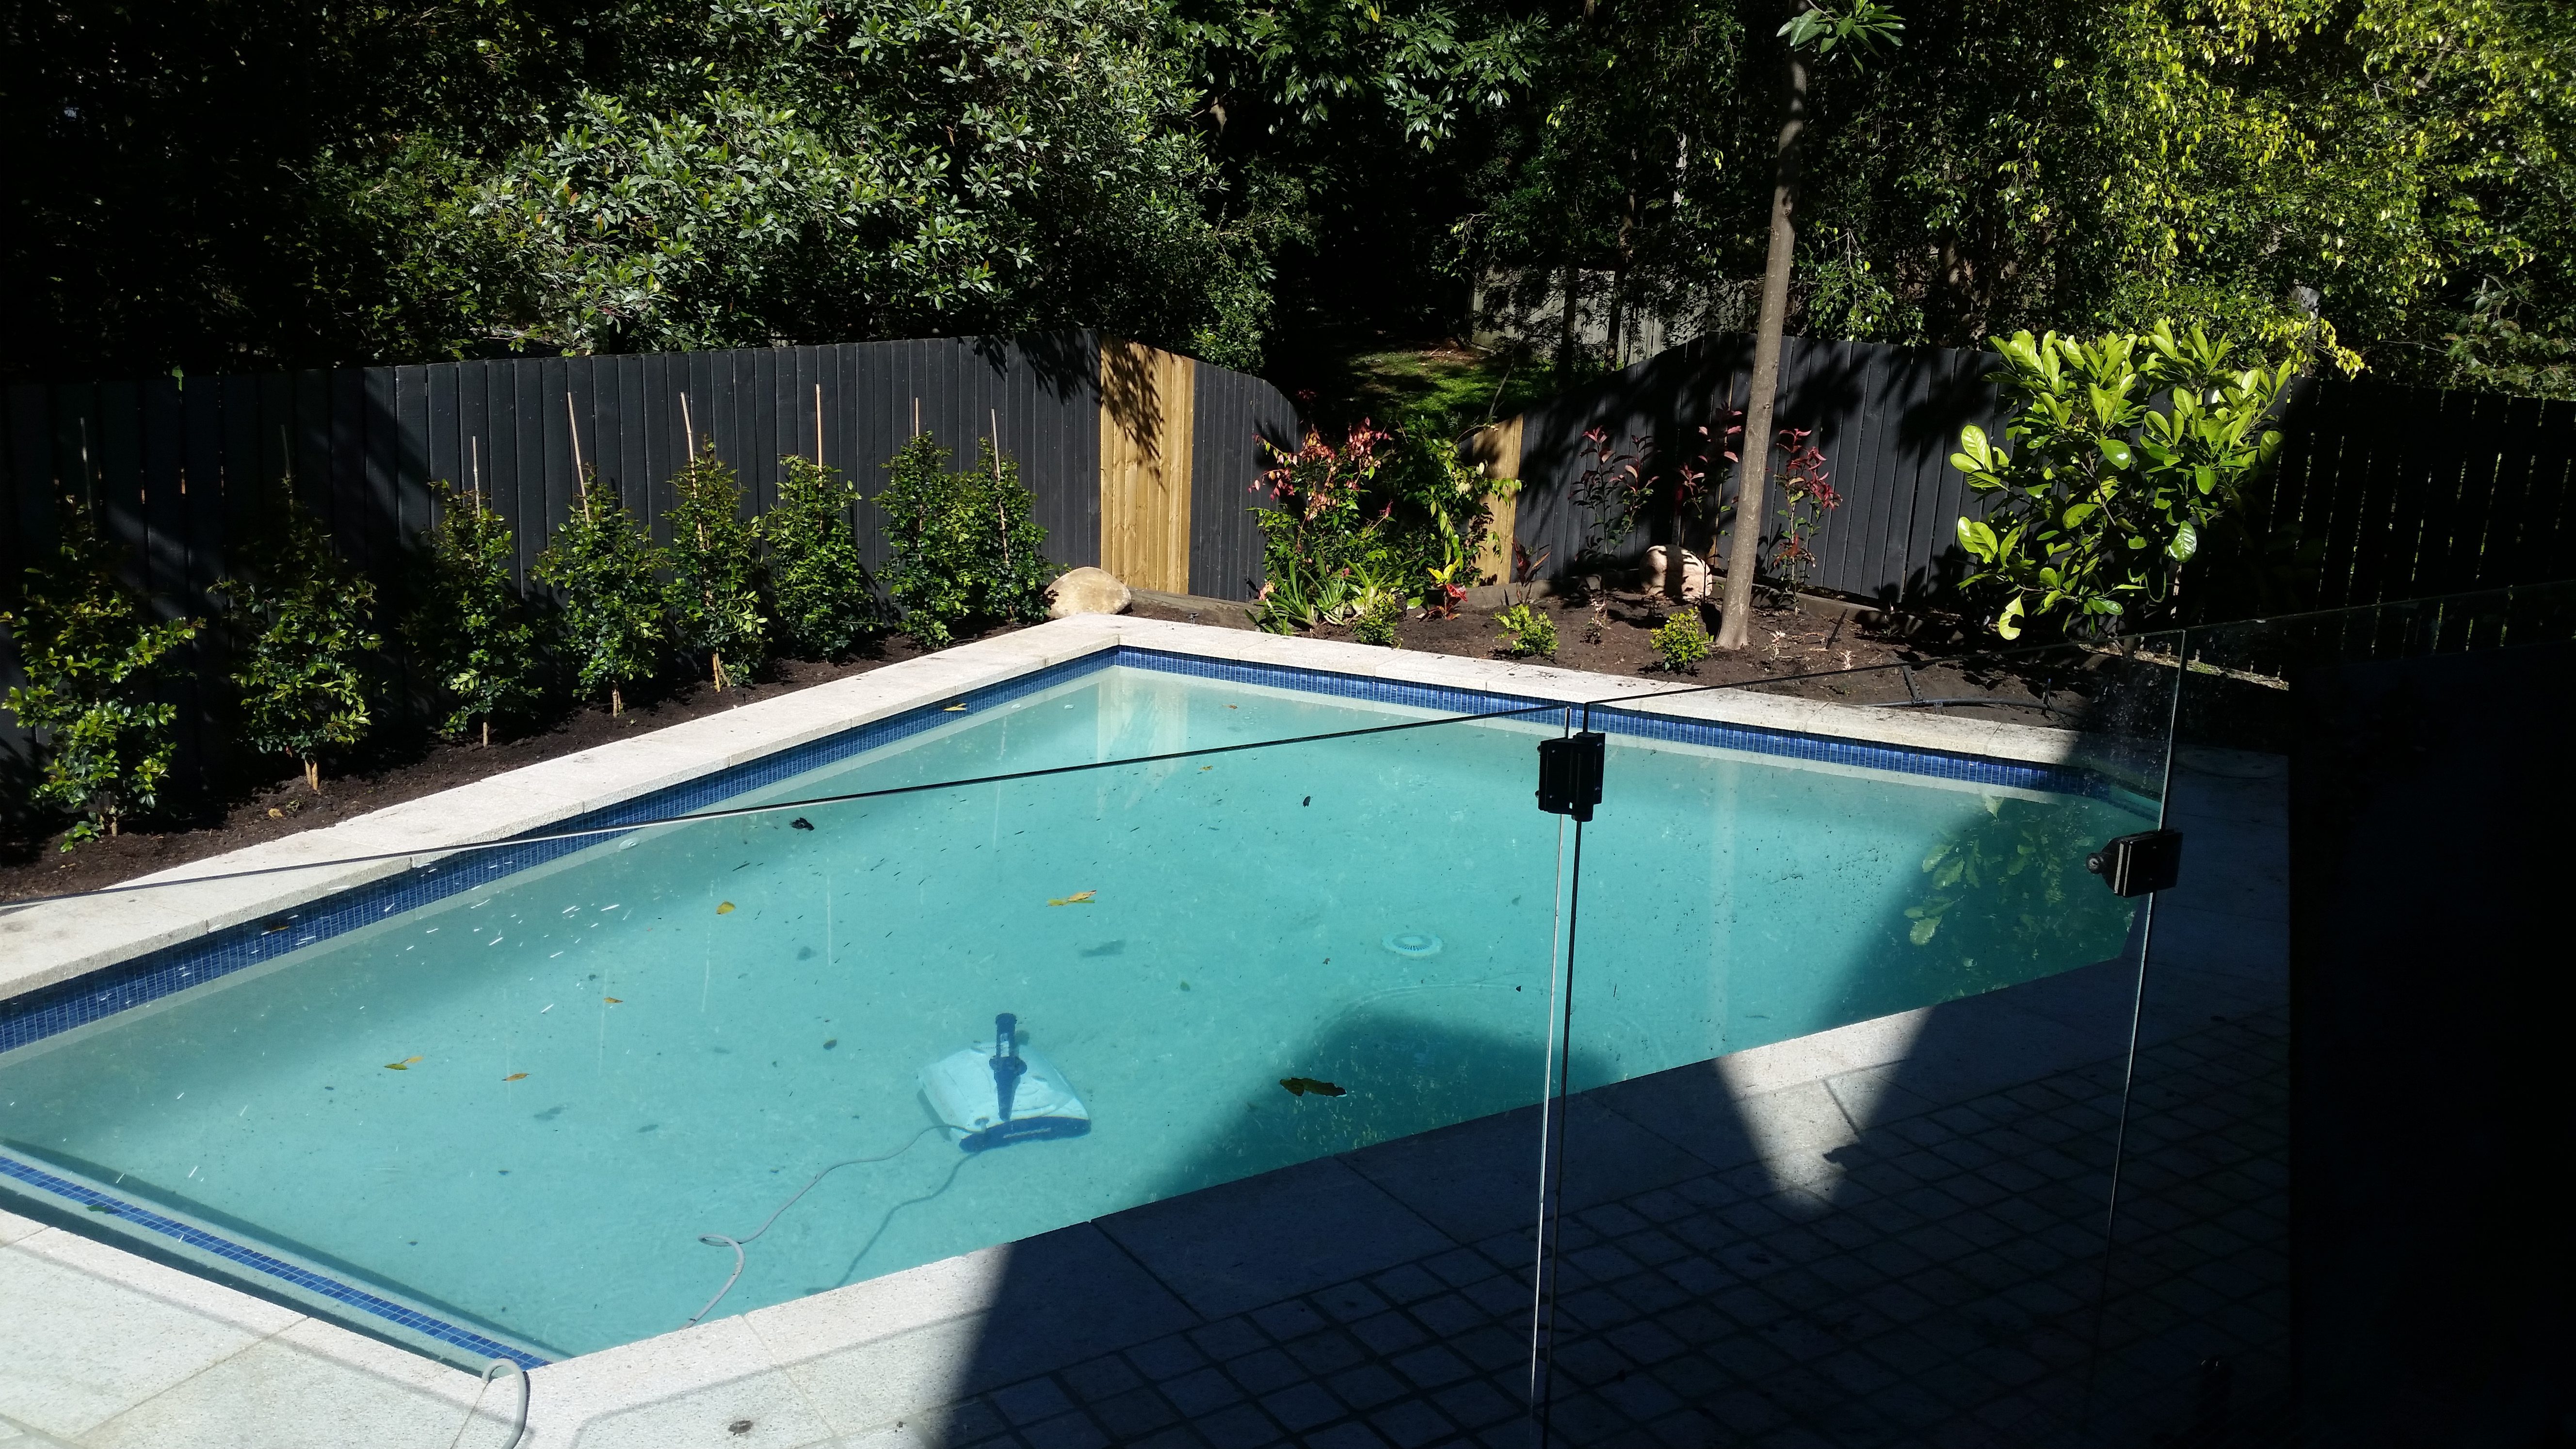
We are pleased to present the details of our recent installation at Bardon.
This project highlights our commitment to modern design and high-quality craftsmanship.
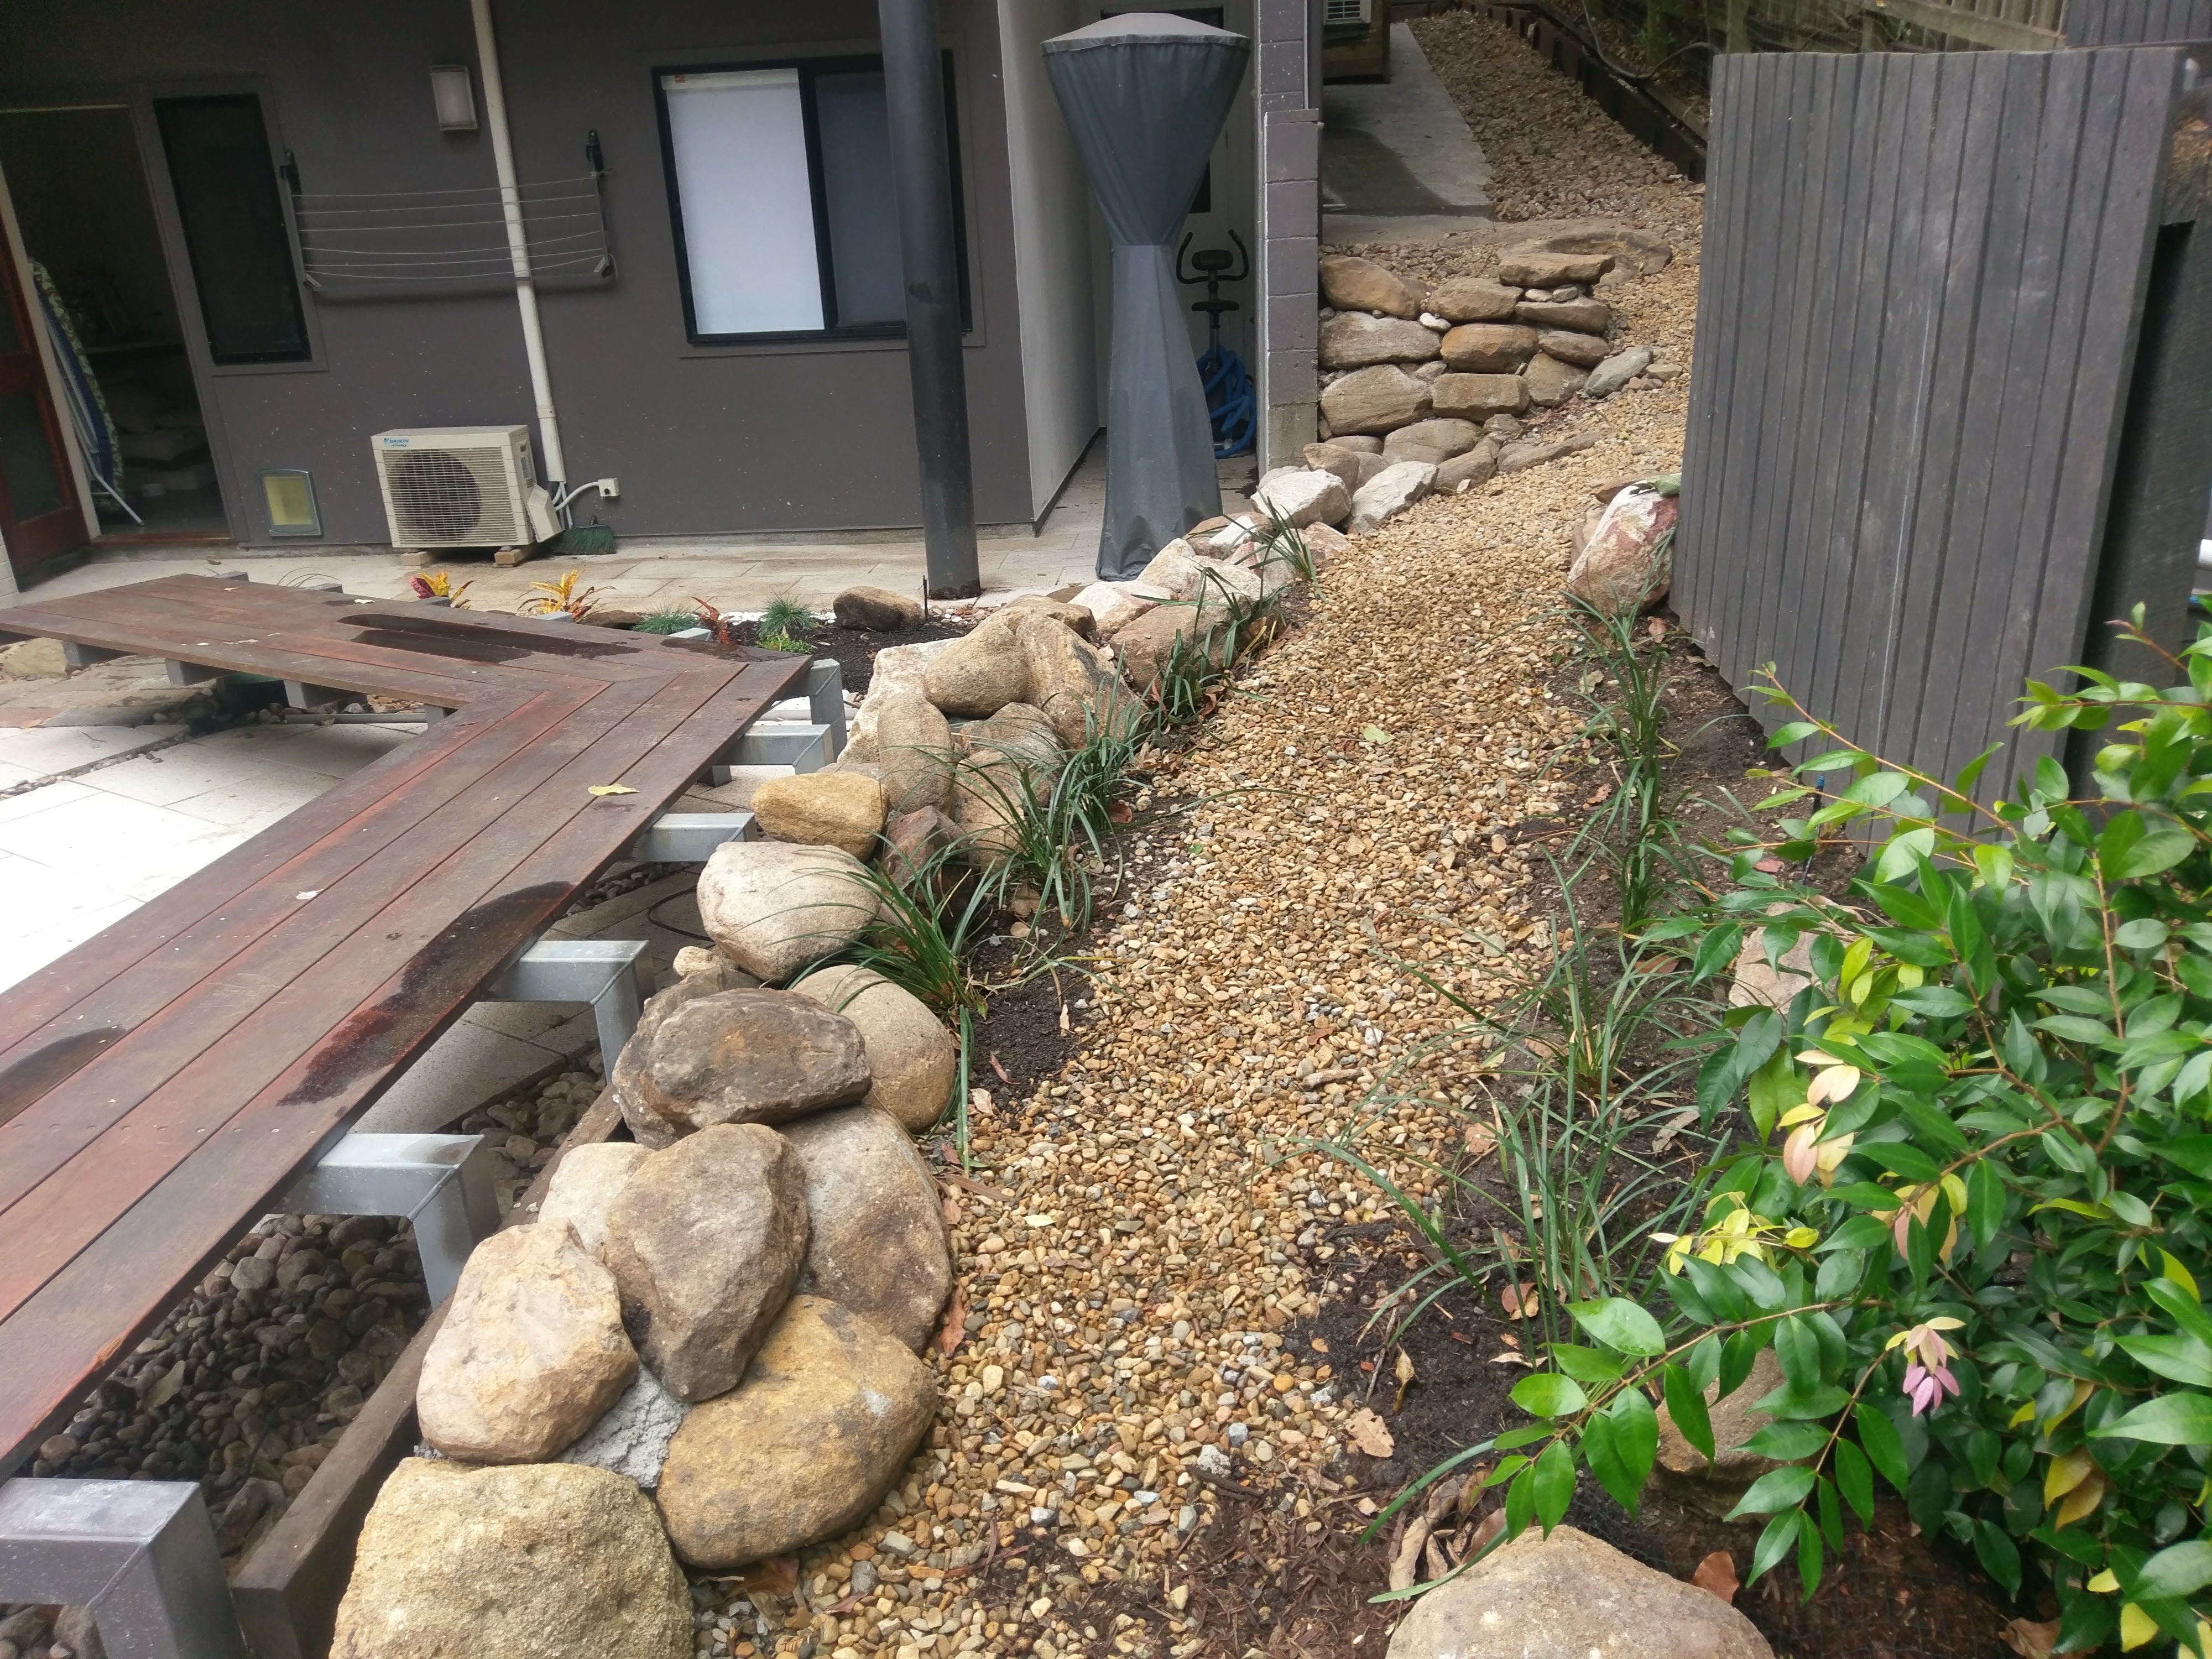
Drainage & Edging
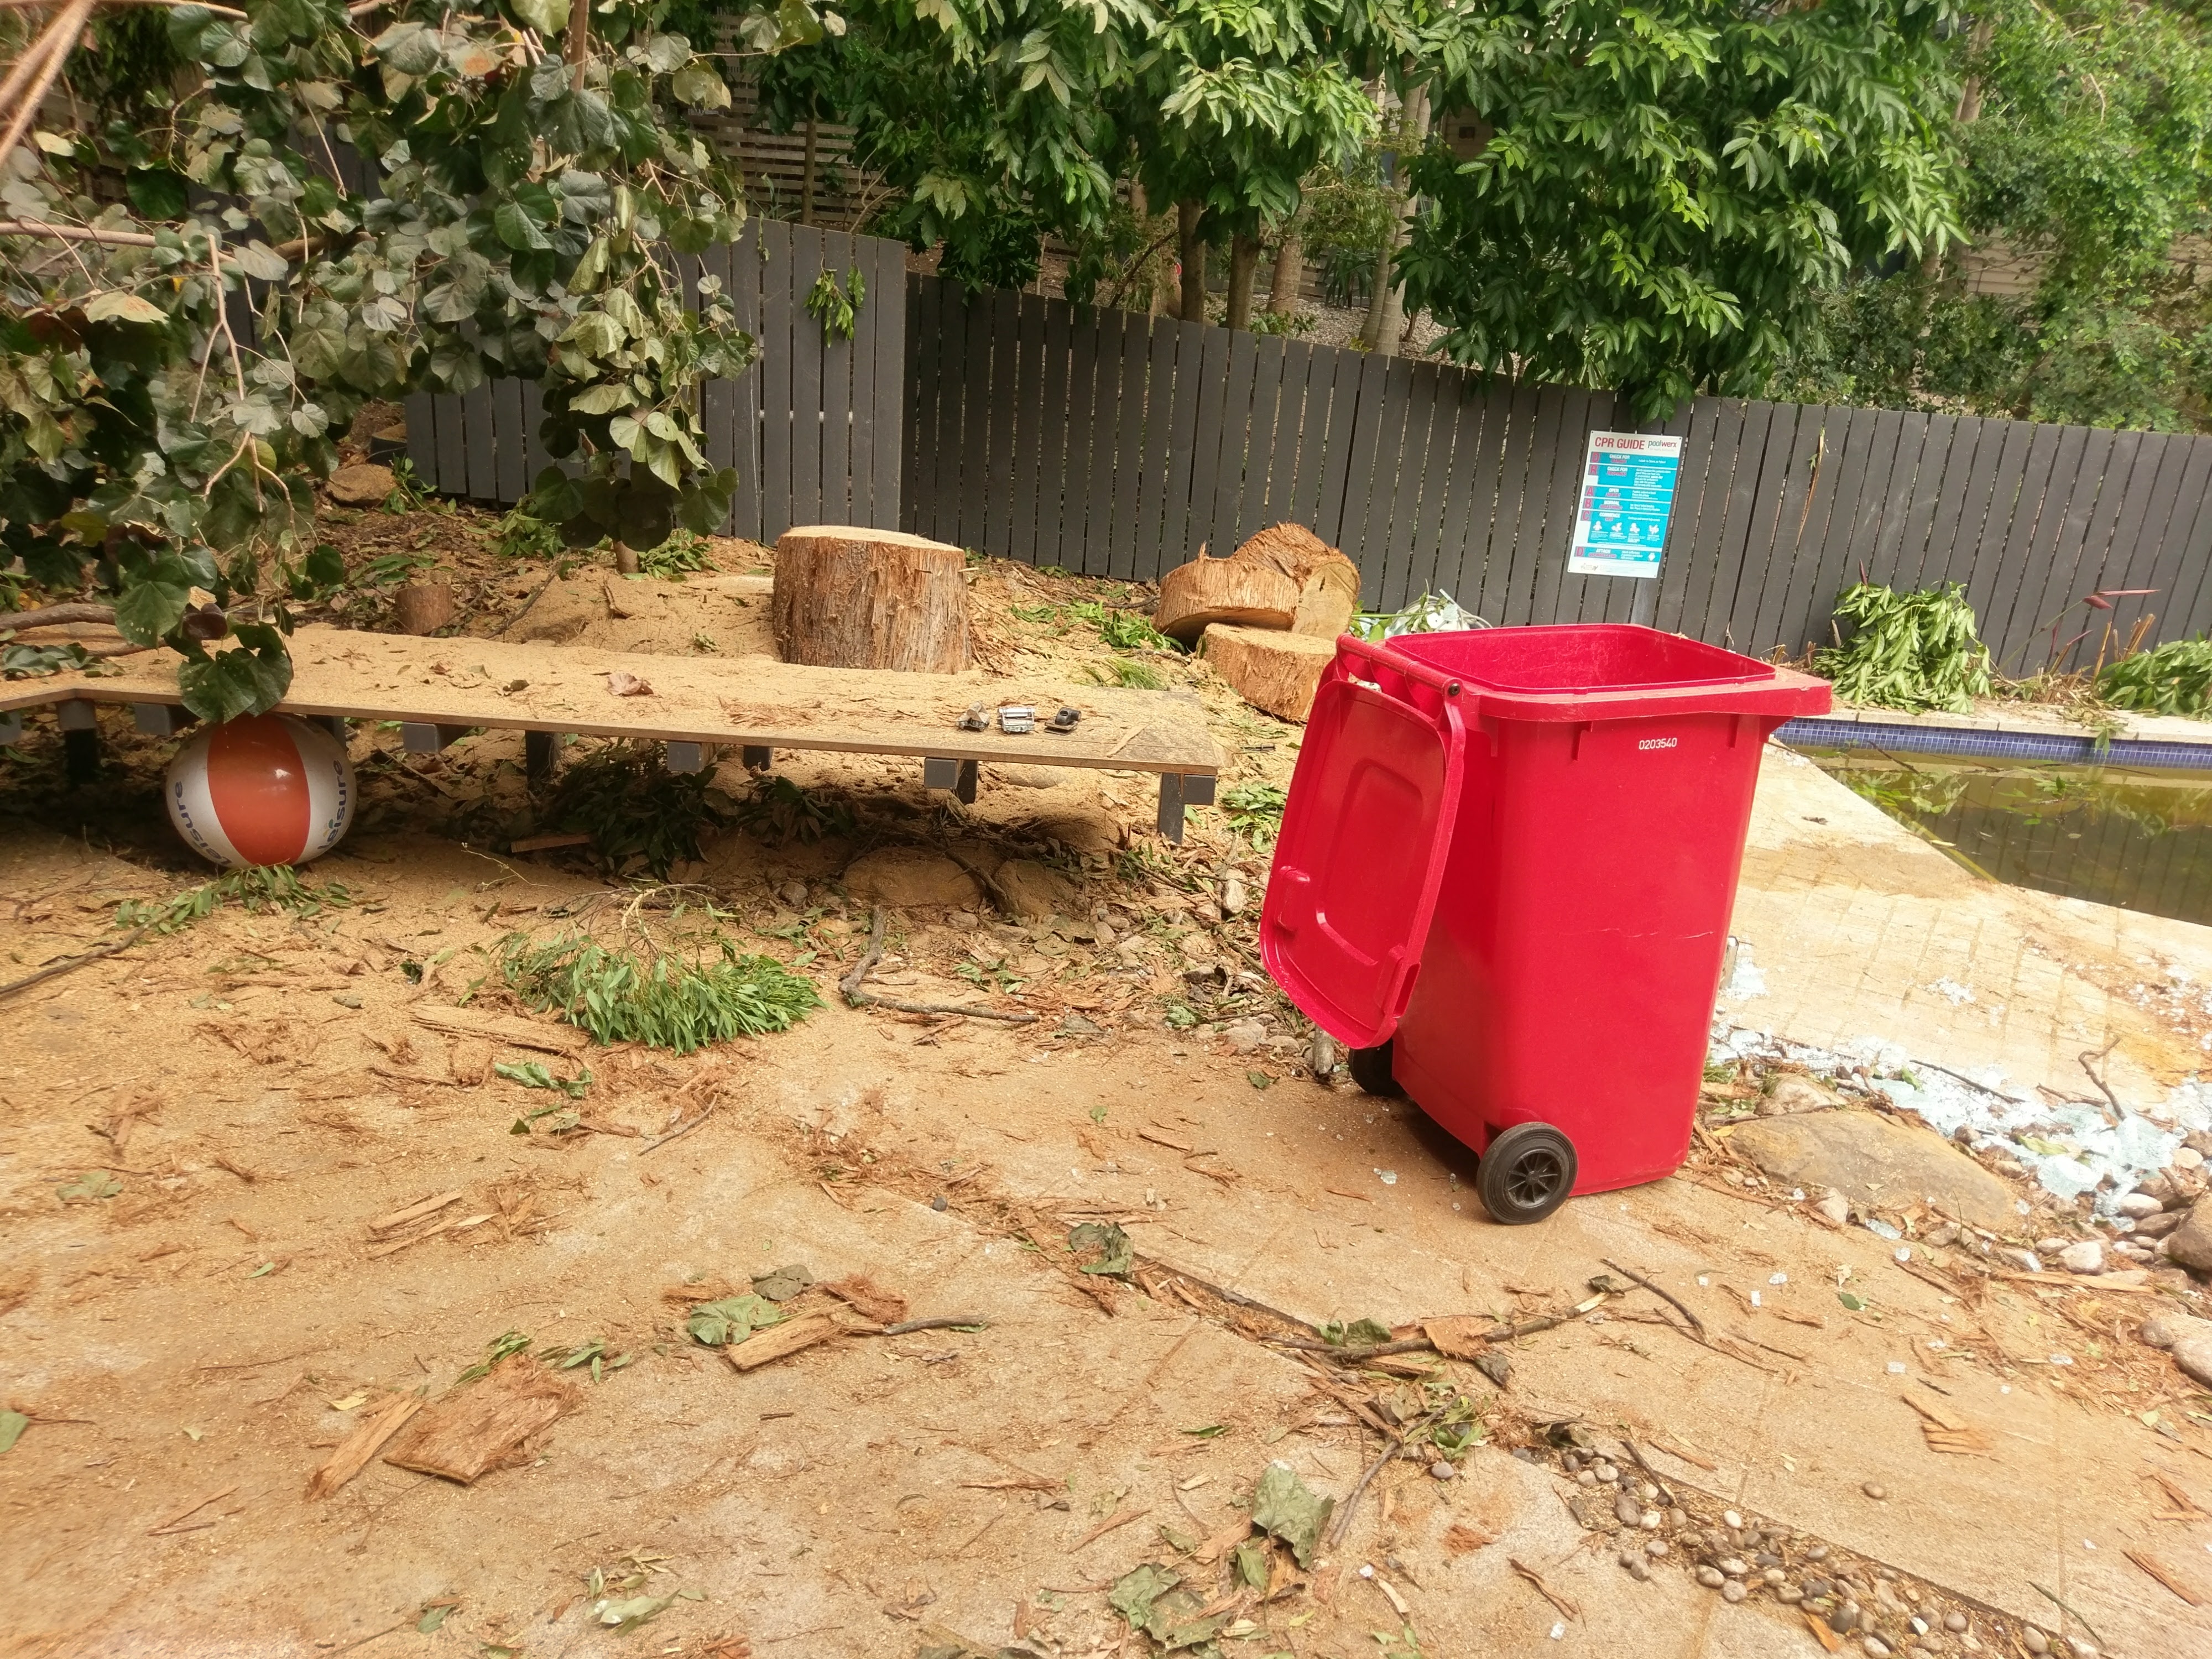
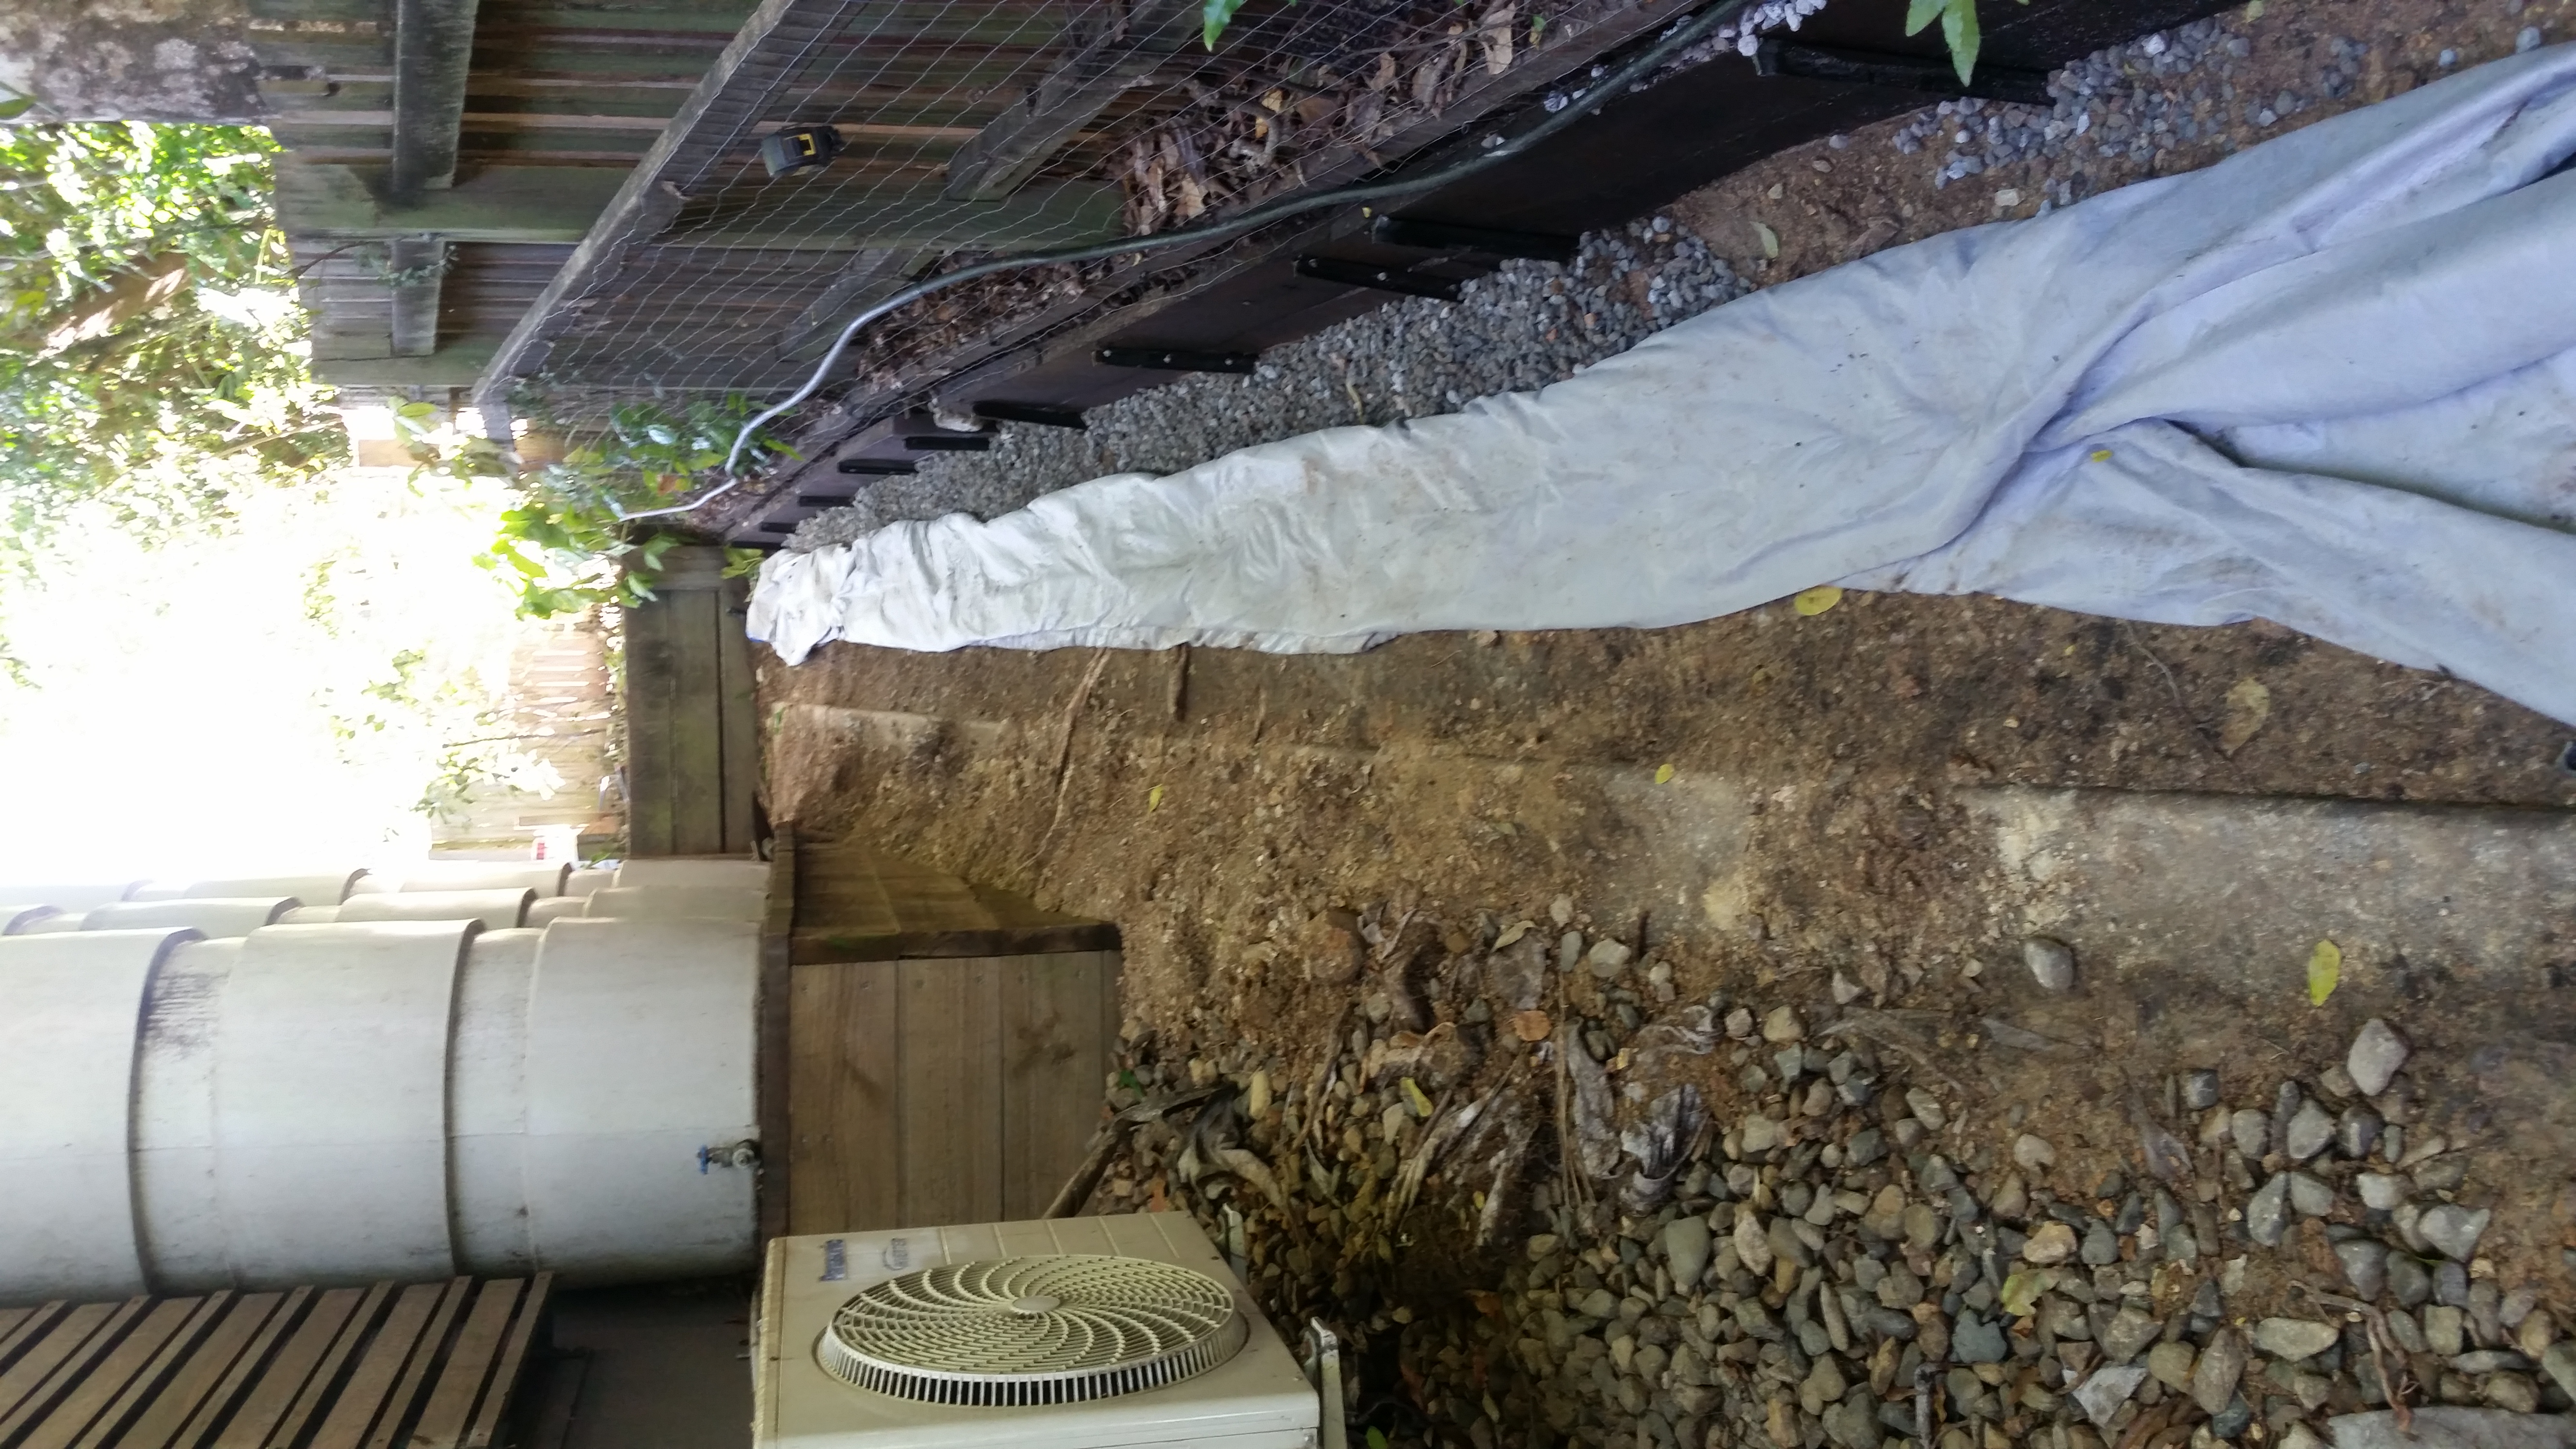
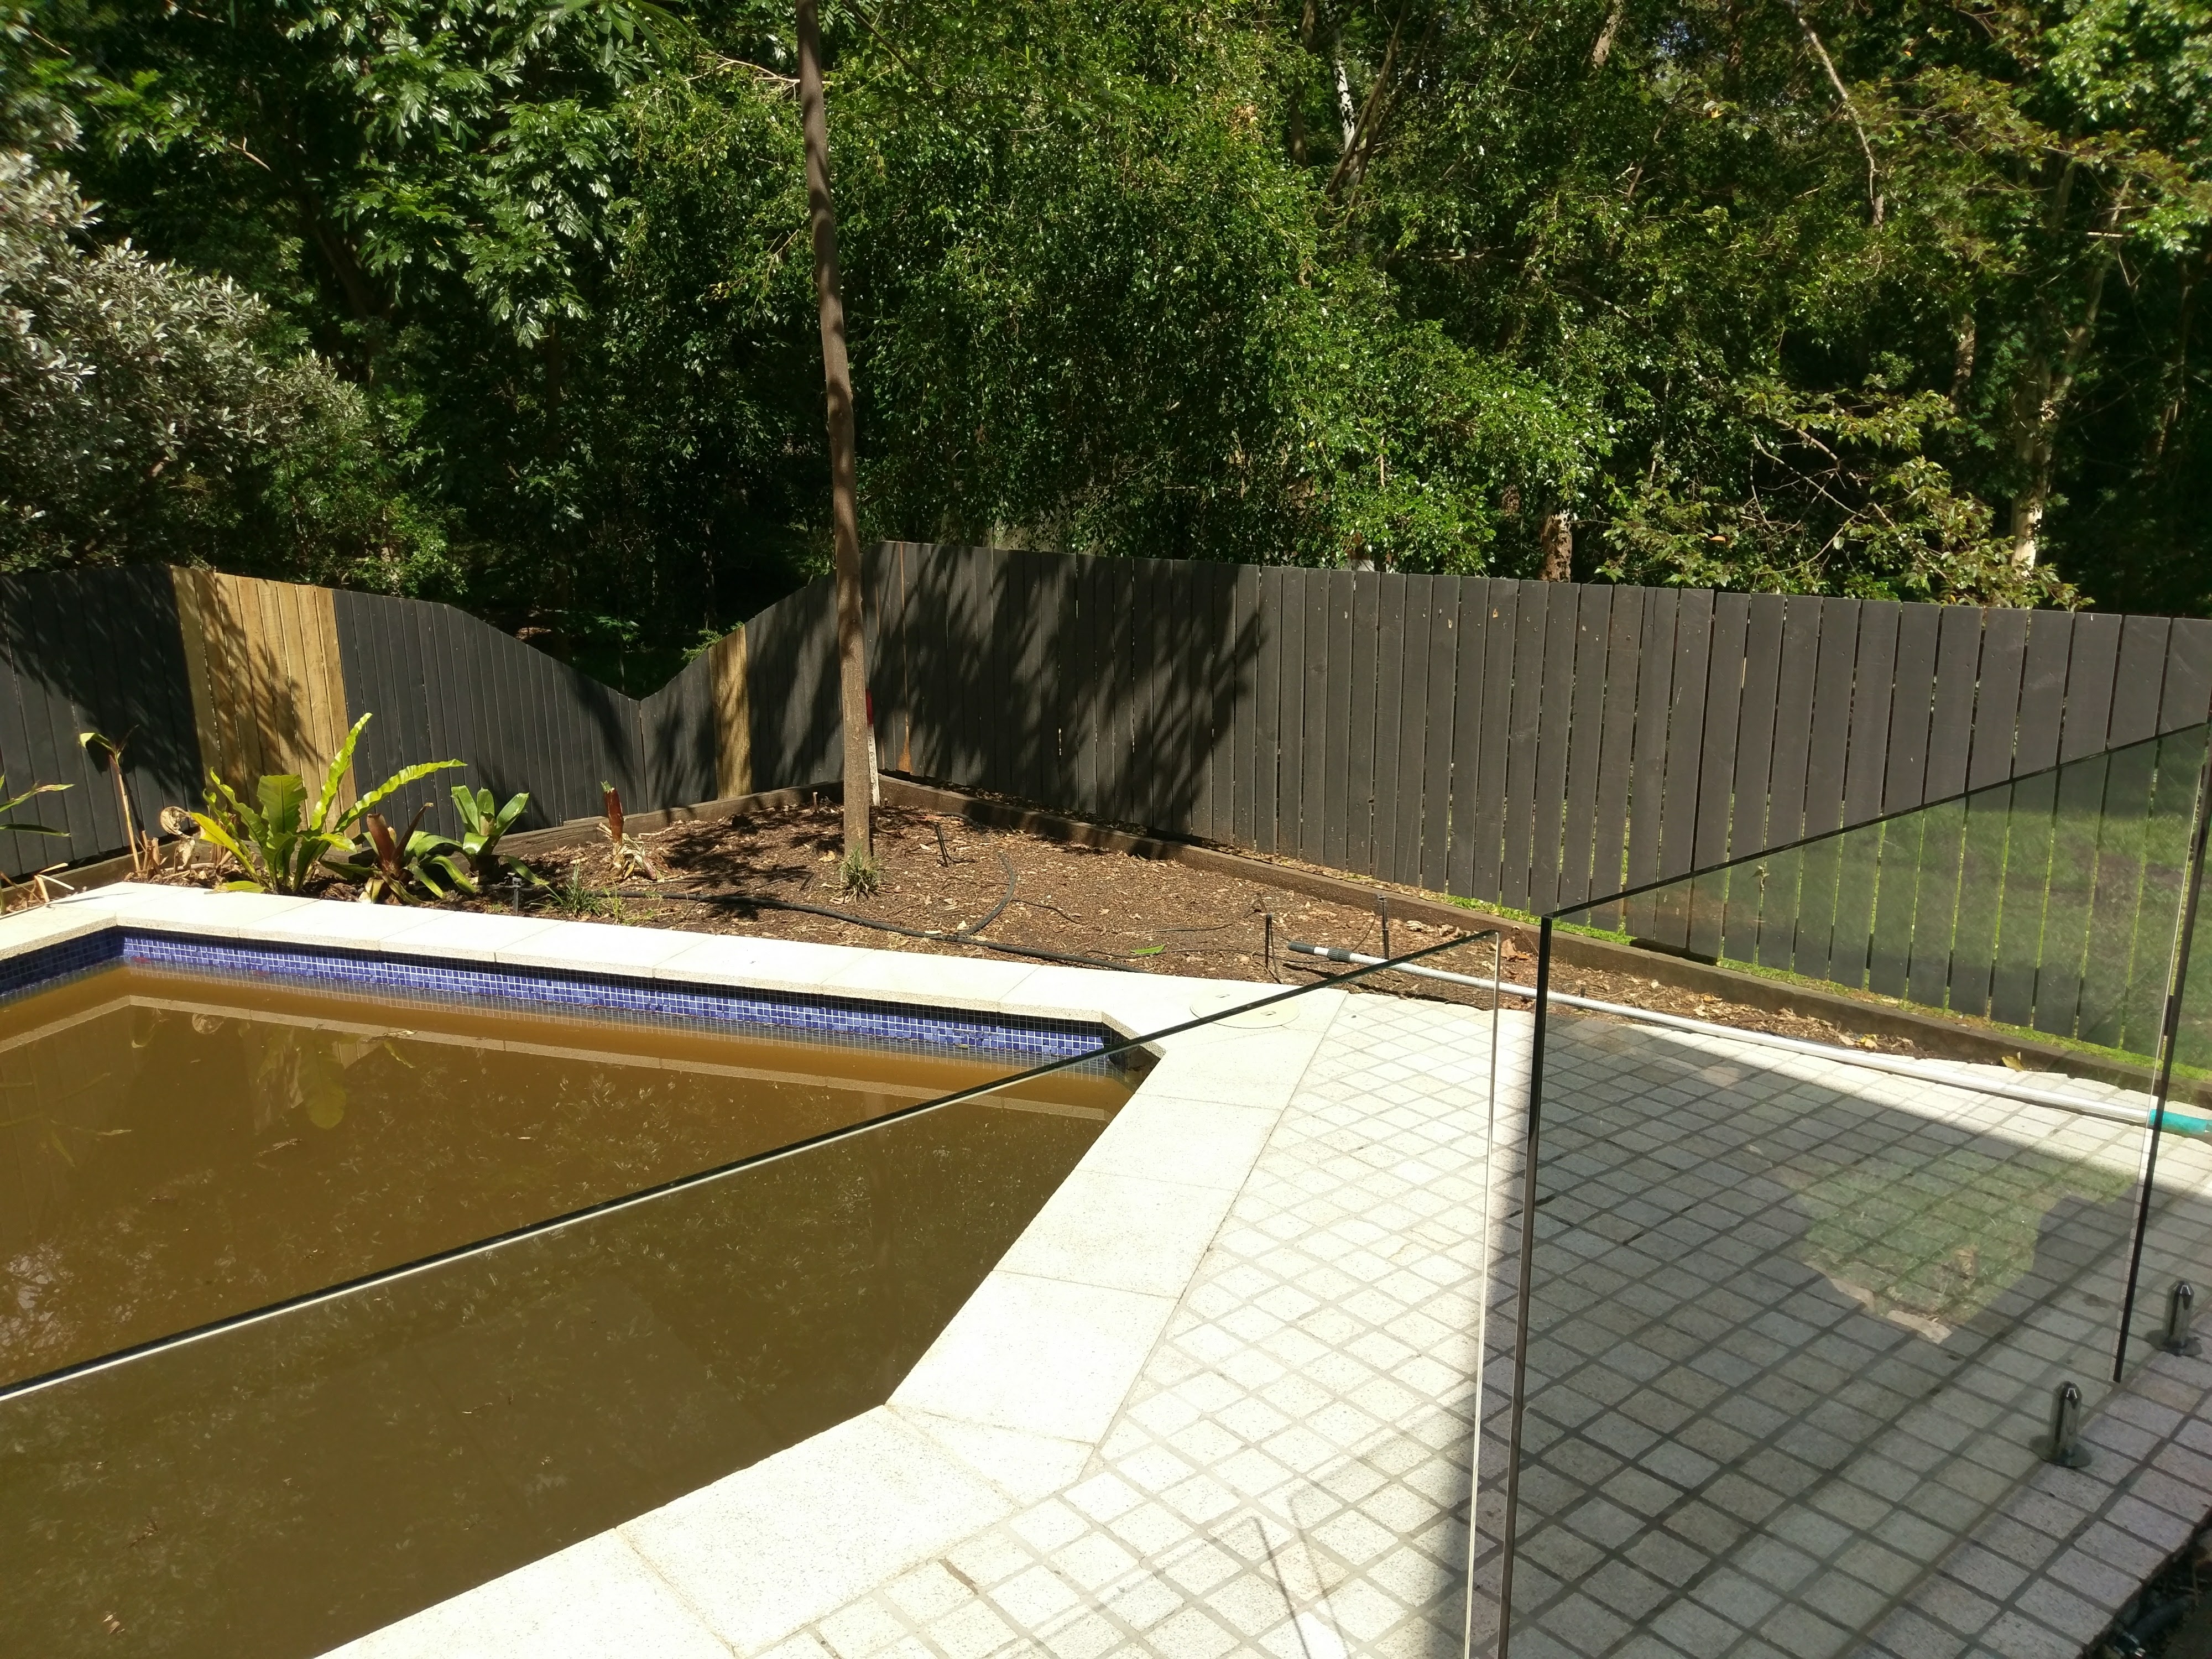
Drainage:- Trench Construction: A drainage trench was constructed to efficiently divert water along the side of the house and prevent water from flowing onto the path. The trench runs from the top of the footpath down the fence line, curving to fit the area between the pool pump and the bench seat, and continuing to the back stairs between the pool tiling and the paved area.
- Process: The area was excavated, waste and debris including smaller rocks were removed, and a socked Agi pipe was laid along the trench to aid in water drainage. The trench was then filled with drainage gravel wrapped in geofabric. Decorative gravel was spread on top to enhance visual appeal. Tumbled sandstone was used between the paving and tiling for a soft and attractive finish.
Edging:
- Installation: Aluminium edging was installed between the pool tiling and the drainage section, covering approximately 5 meters. This edging prevents overflow from the drainage channel during heavy rainfall and was installed along the top side and the corner.
Retaining Walls
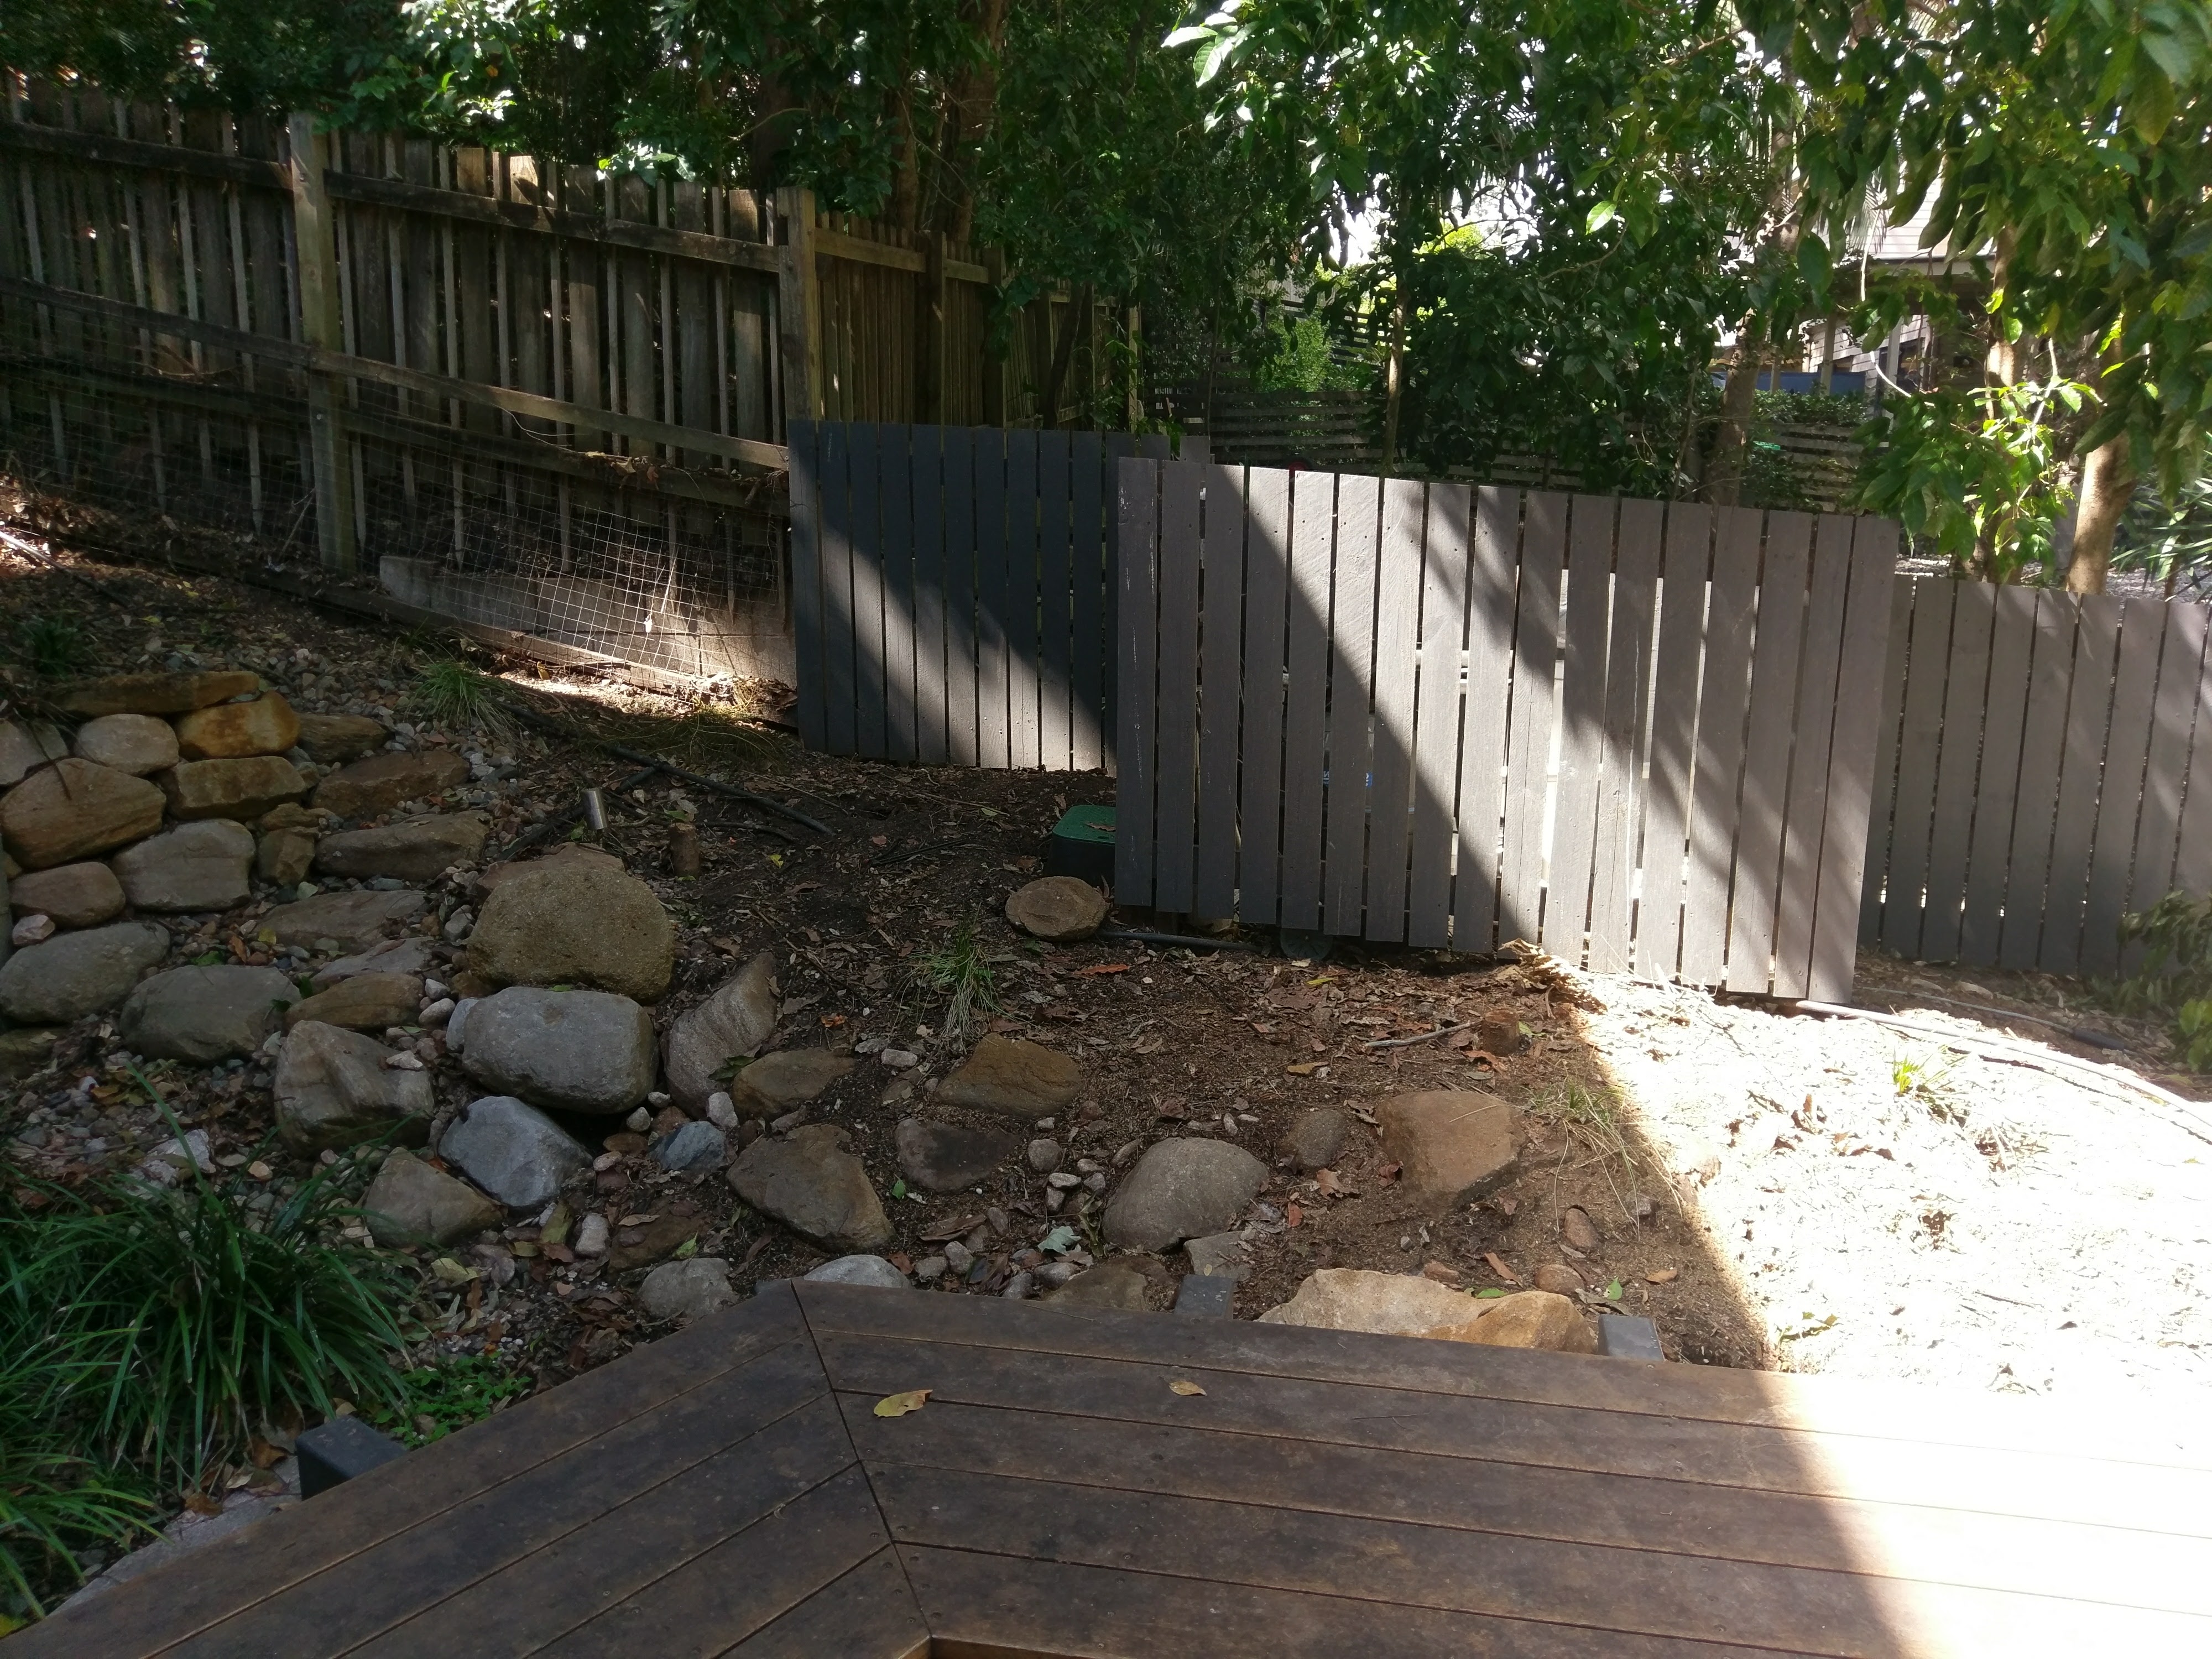
Construction:- Purpose: The retaining wall was built to retain earth from the neighbor’s property, stabilize the existing fence, and prevent soil collapse into the yard.
- Additional Features: A hardwood sleeper was installed behind the bench seat to block soil from entering the paved area and to reduce potential overflow water.
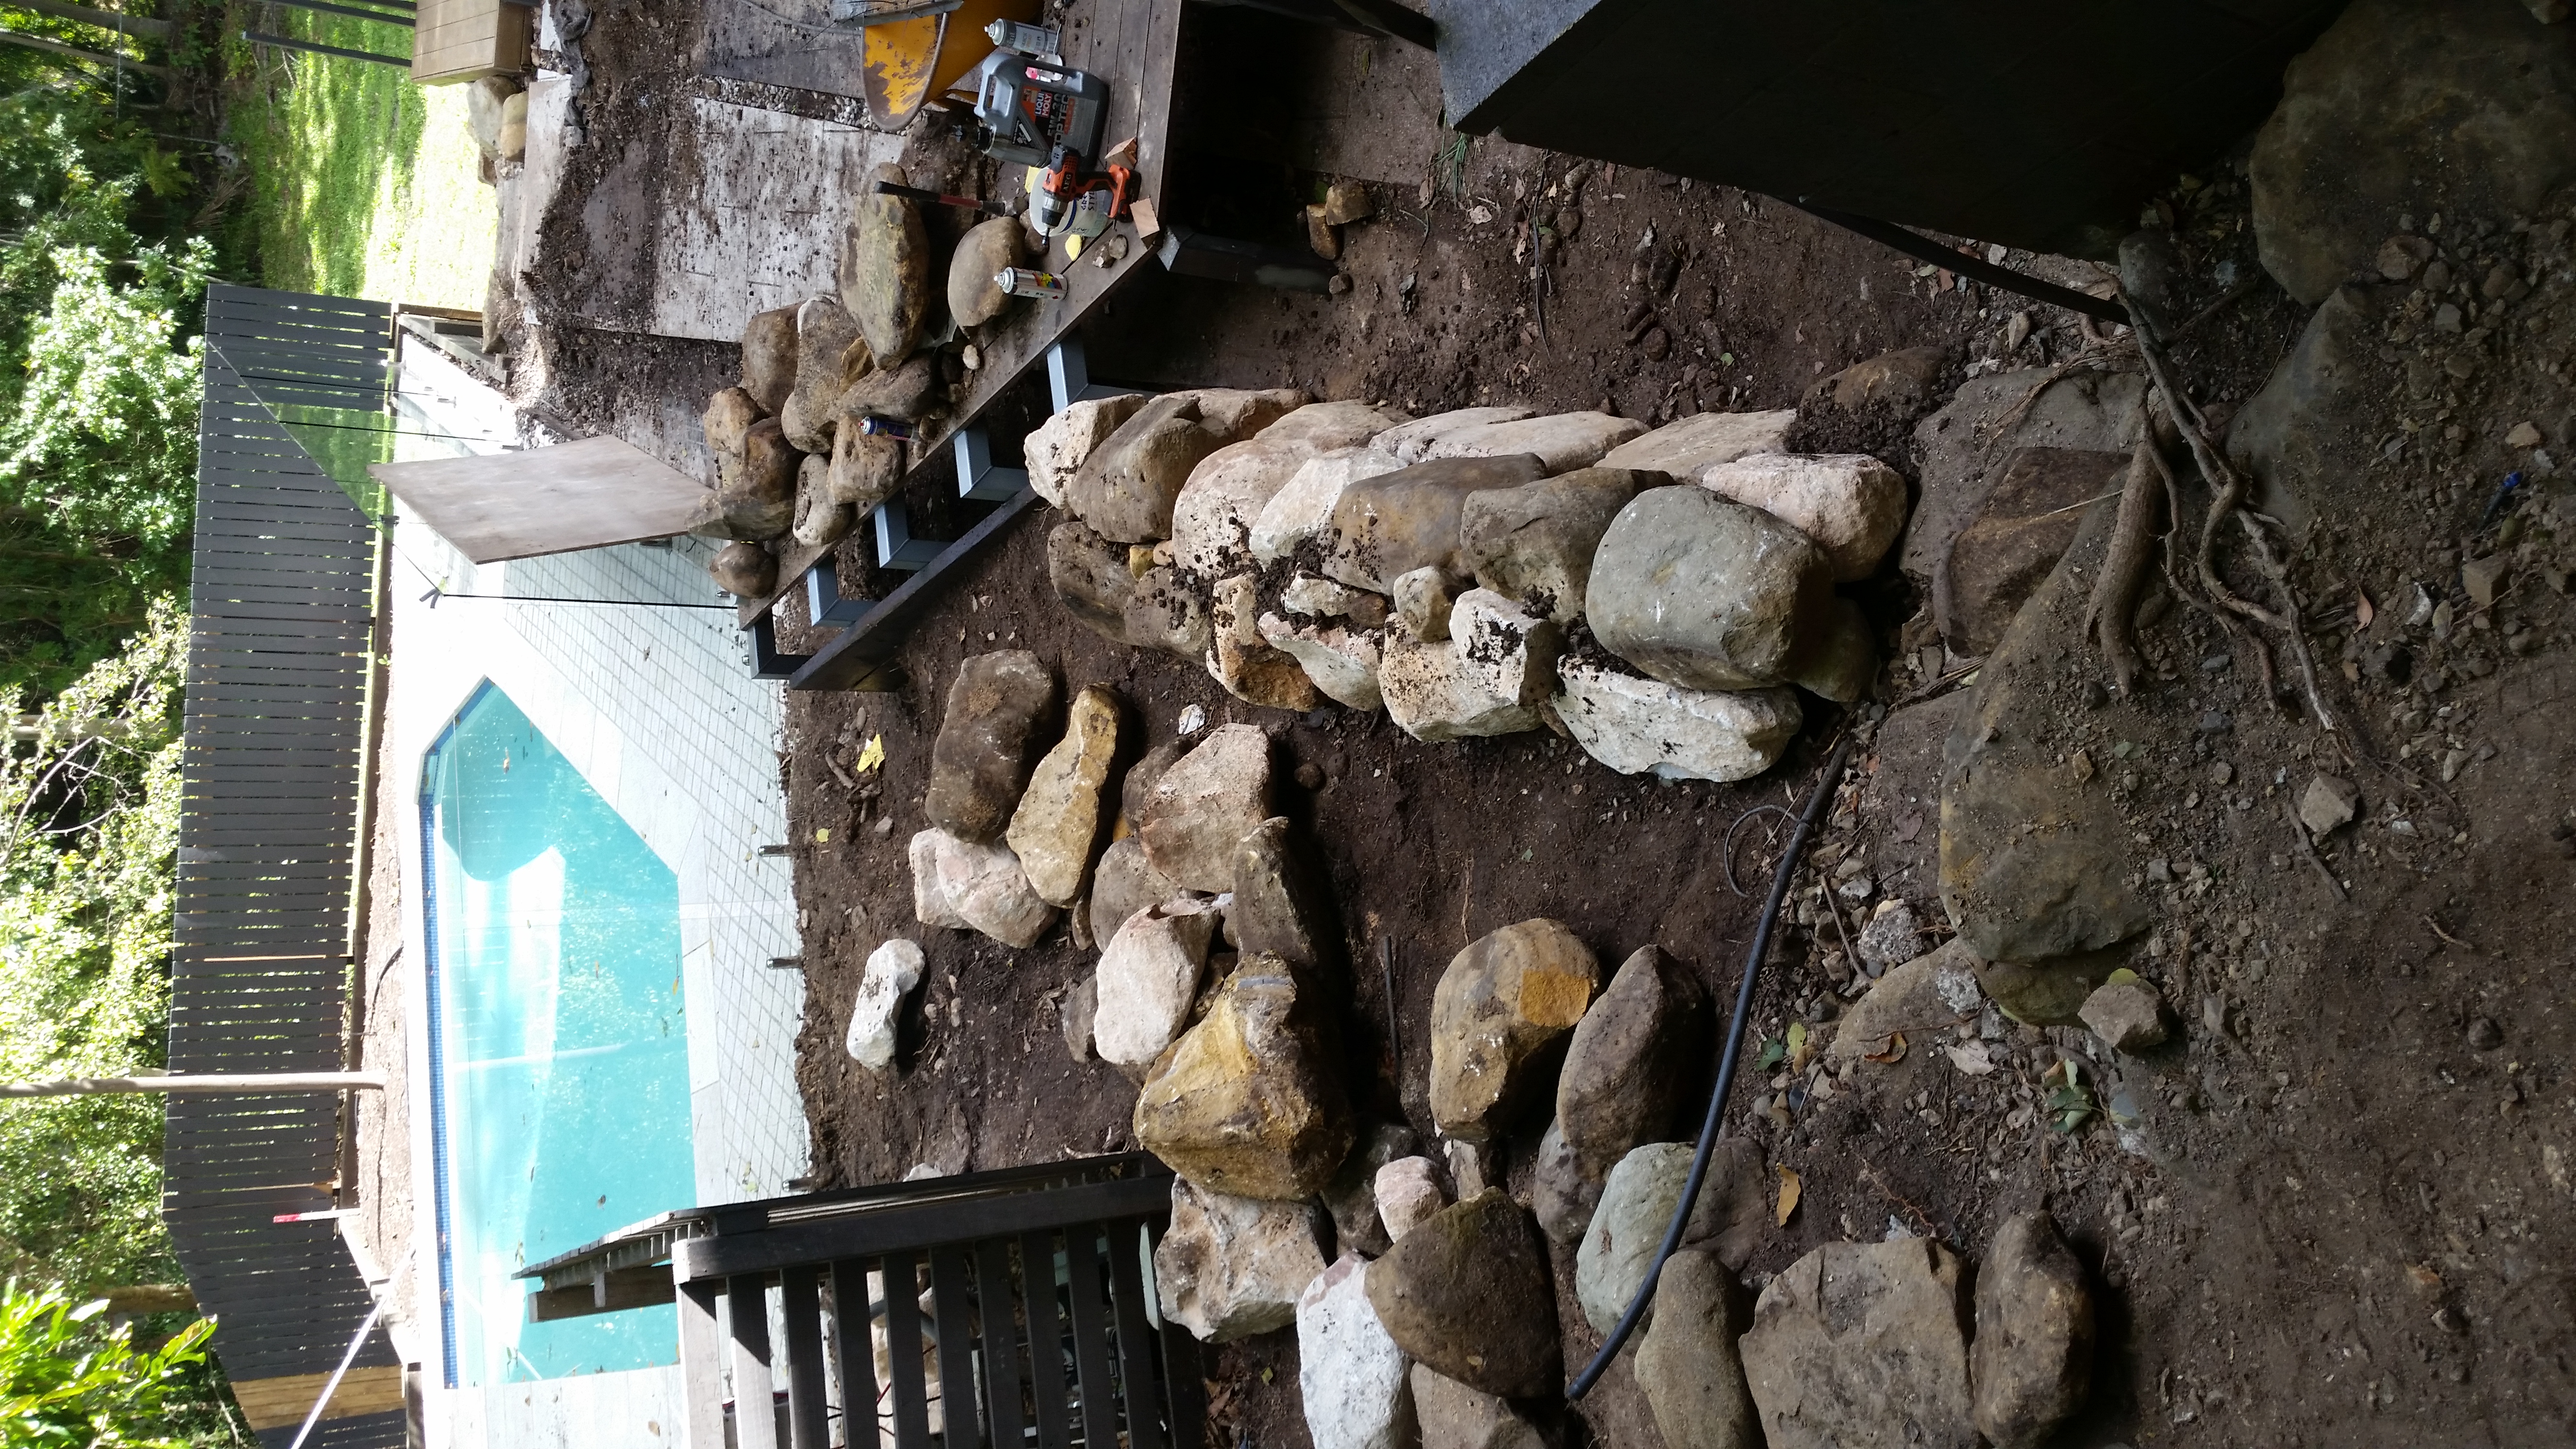
Rock Wall
Construction:- Objective: To build a rock wall using larger rocks to create a barrier for the drainage area and prevent gravel movement. The wall will also minimize dirt runoff from the drainage section.
- Design: The rock wall extends from the end of the path, curves along the rear of the bench seat, and ends where the drainage channel narrows. It is lined with 200UM black plastic to further enhance effectiveness.
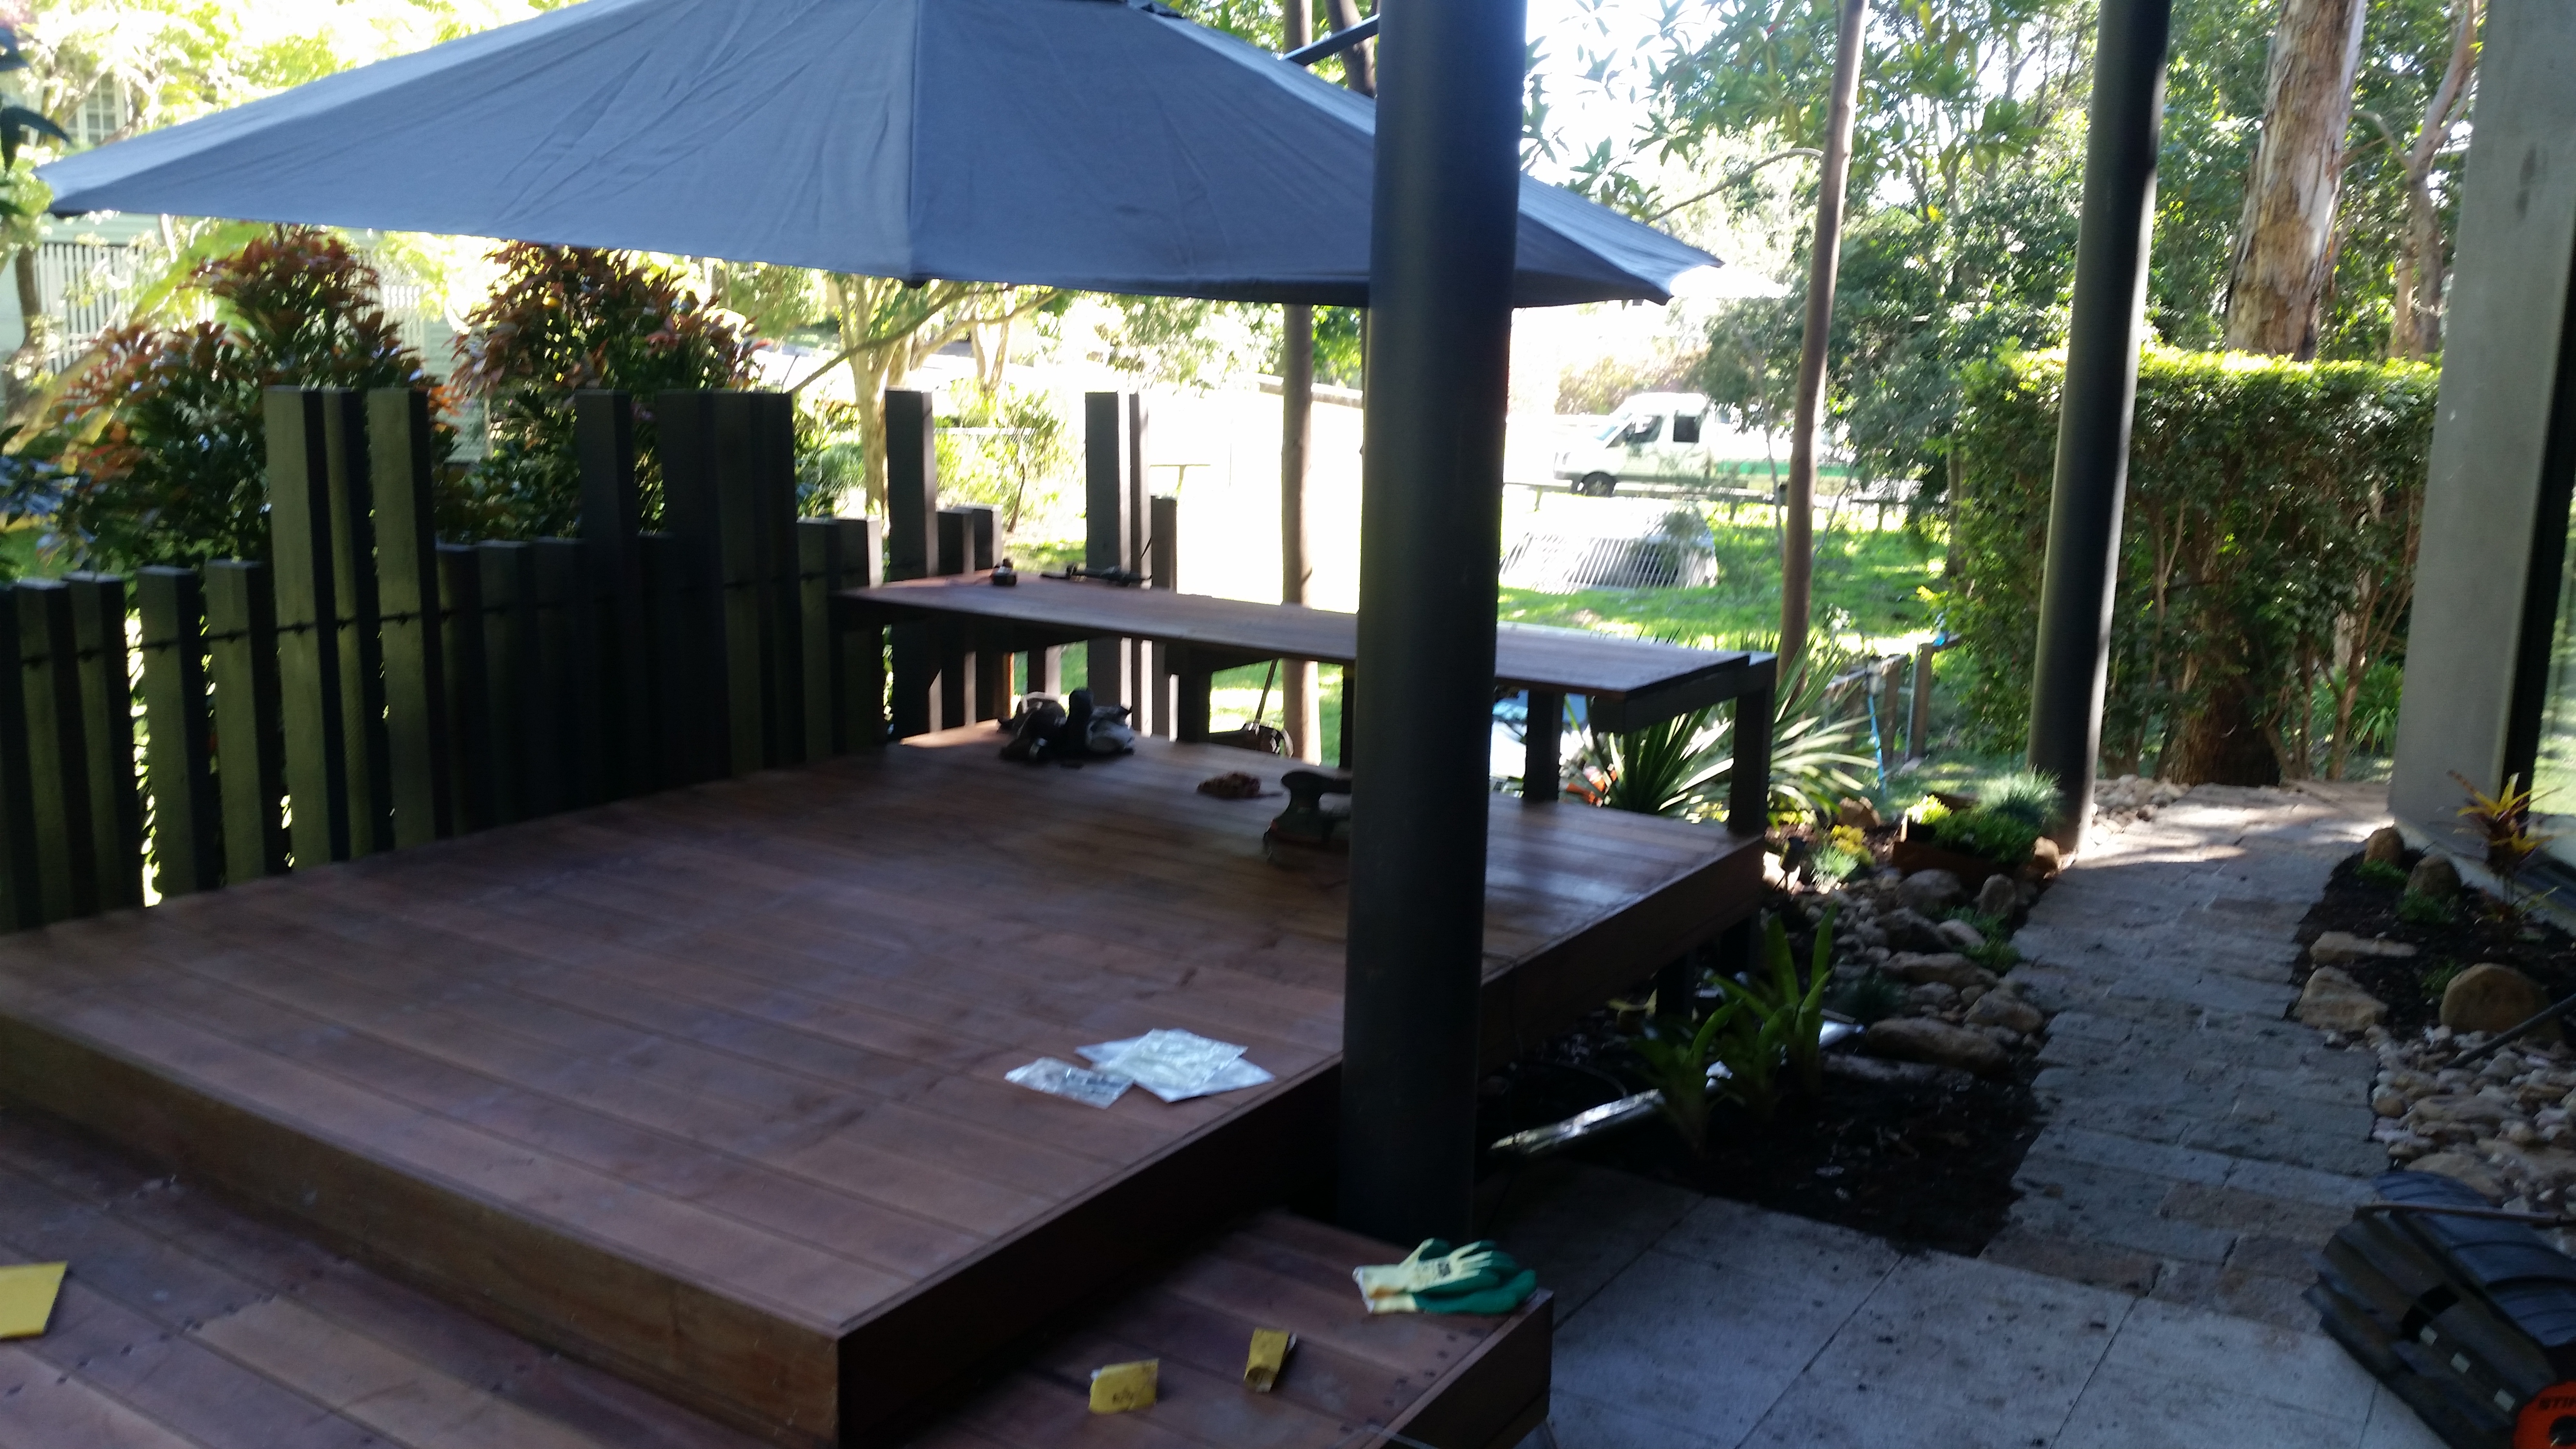
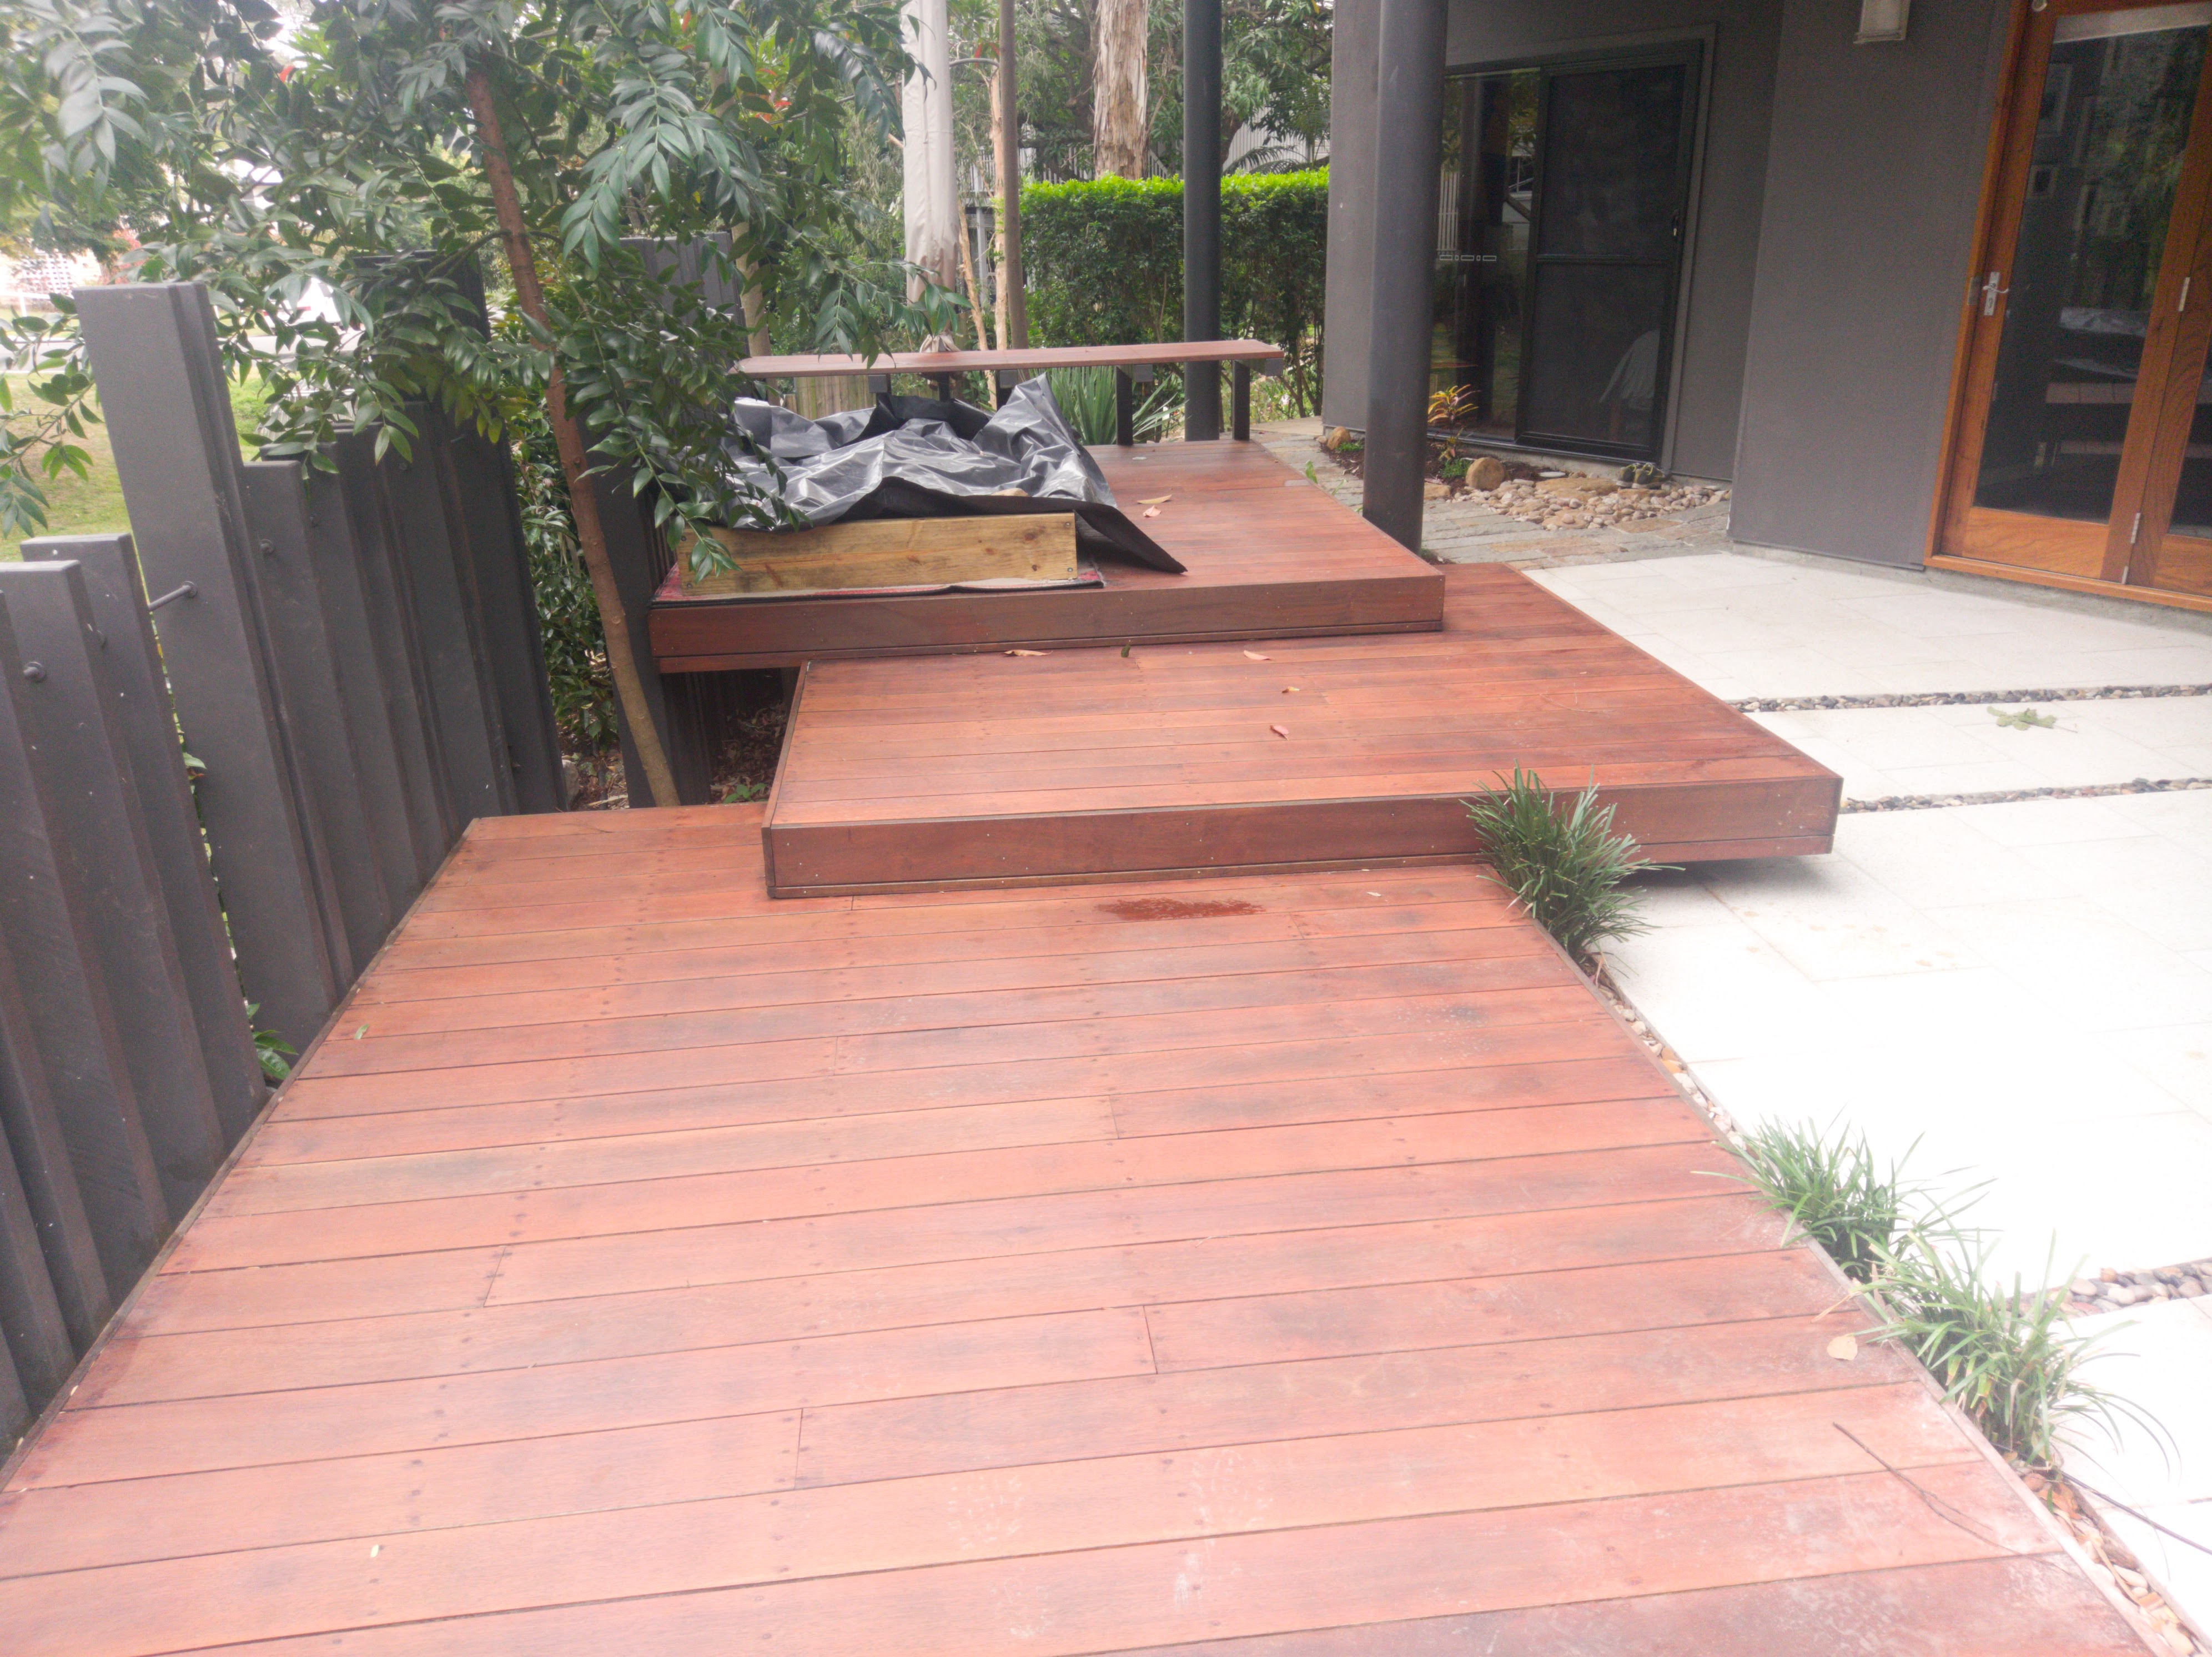
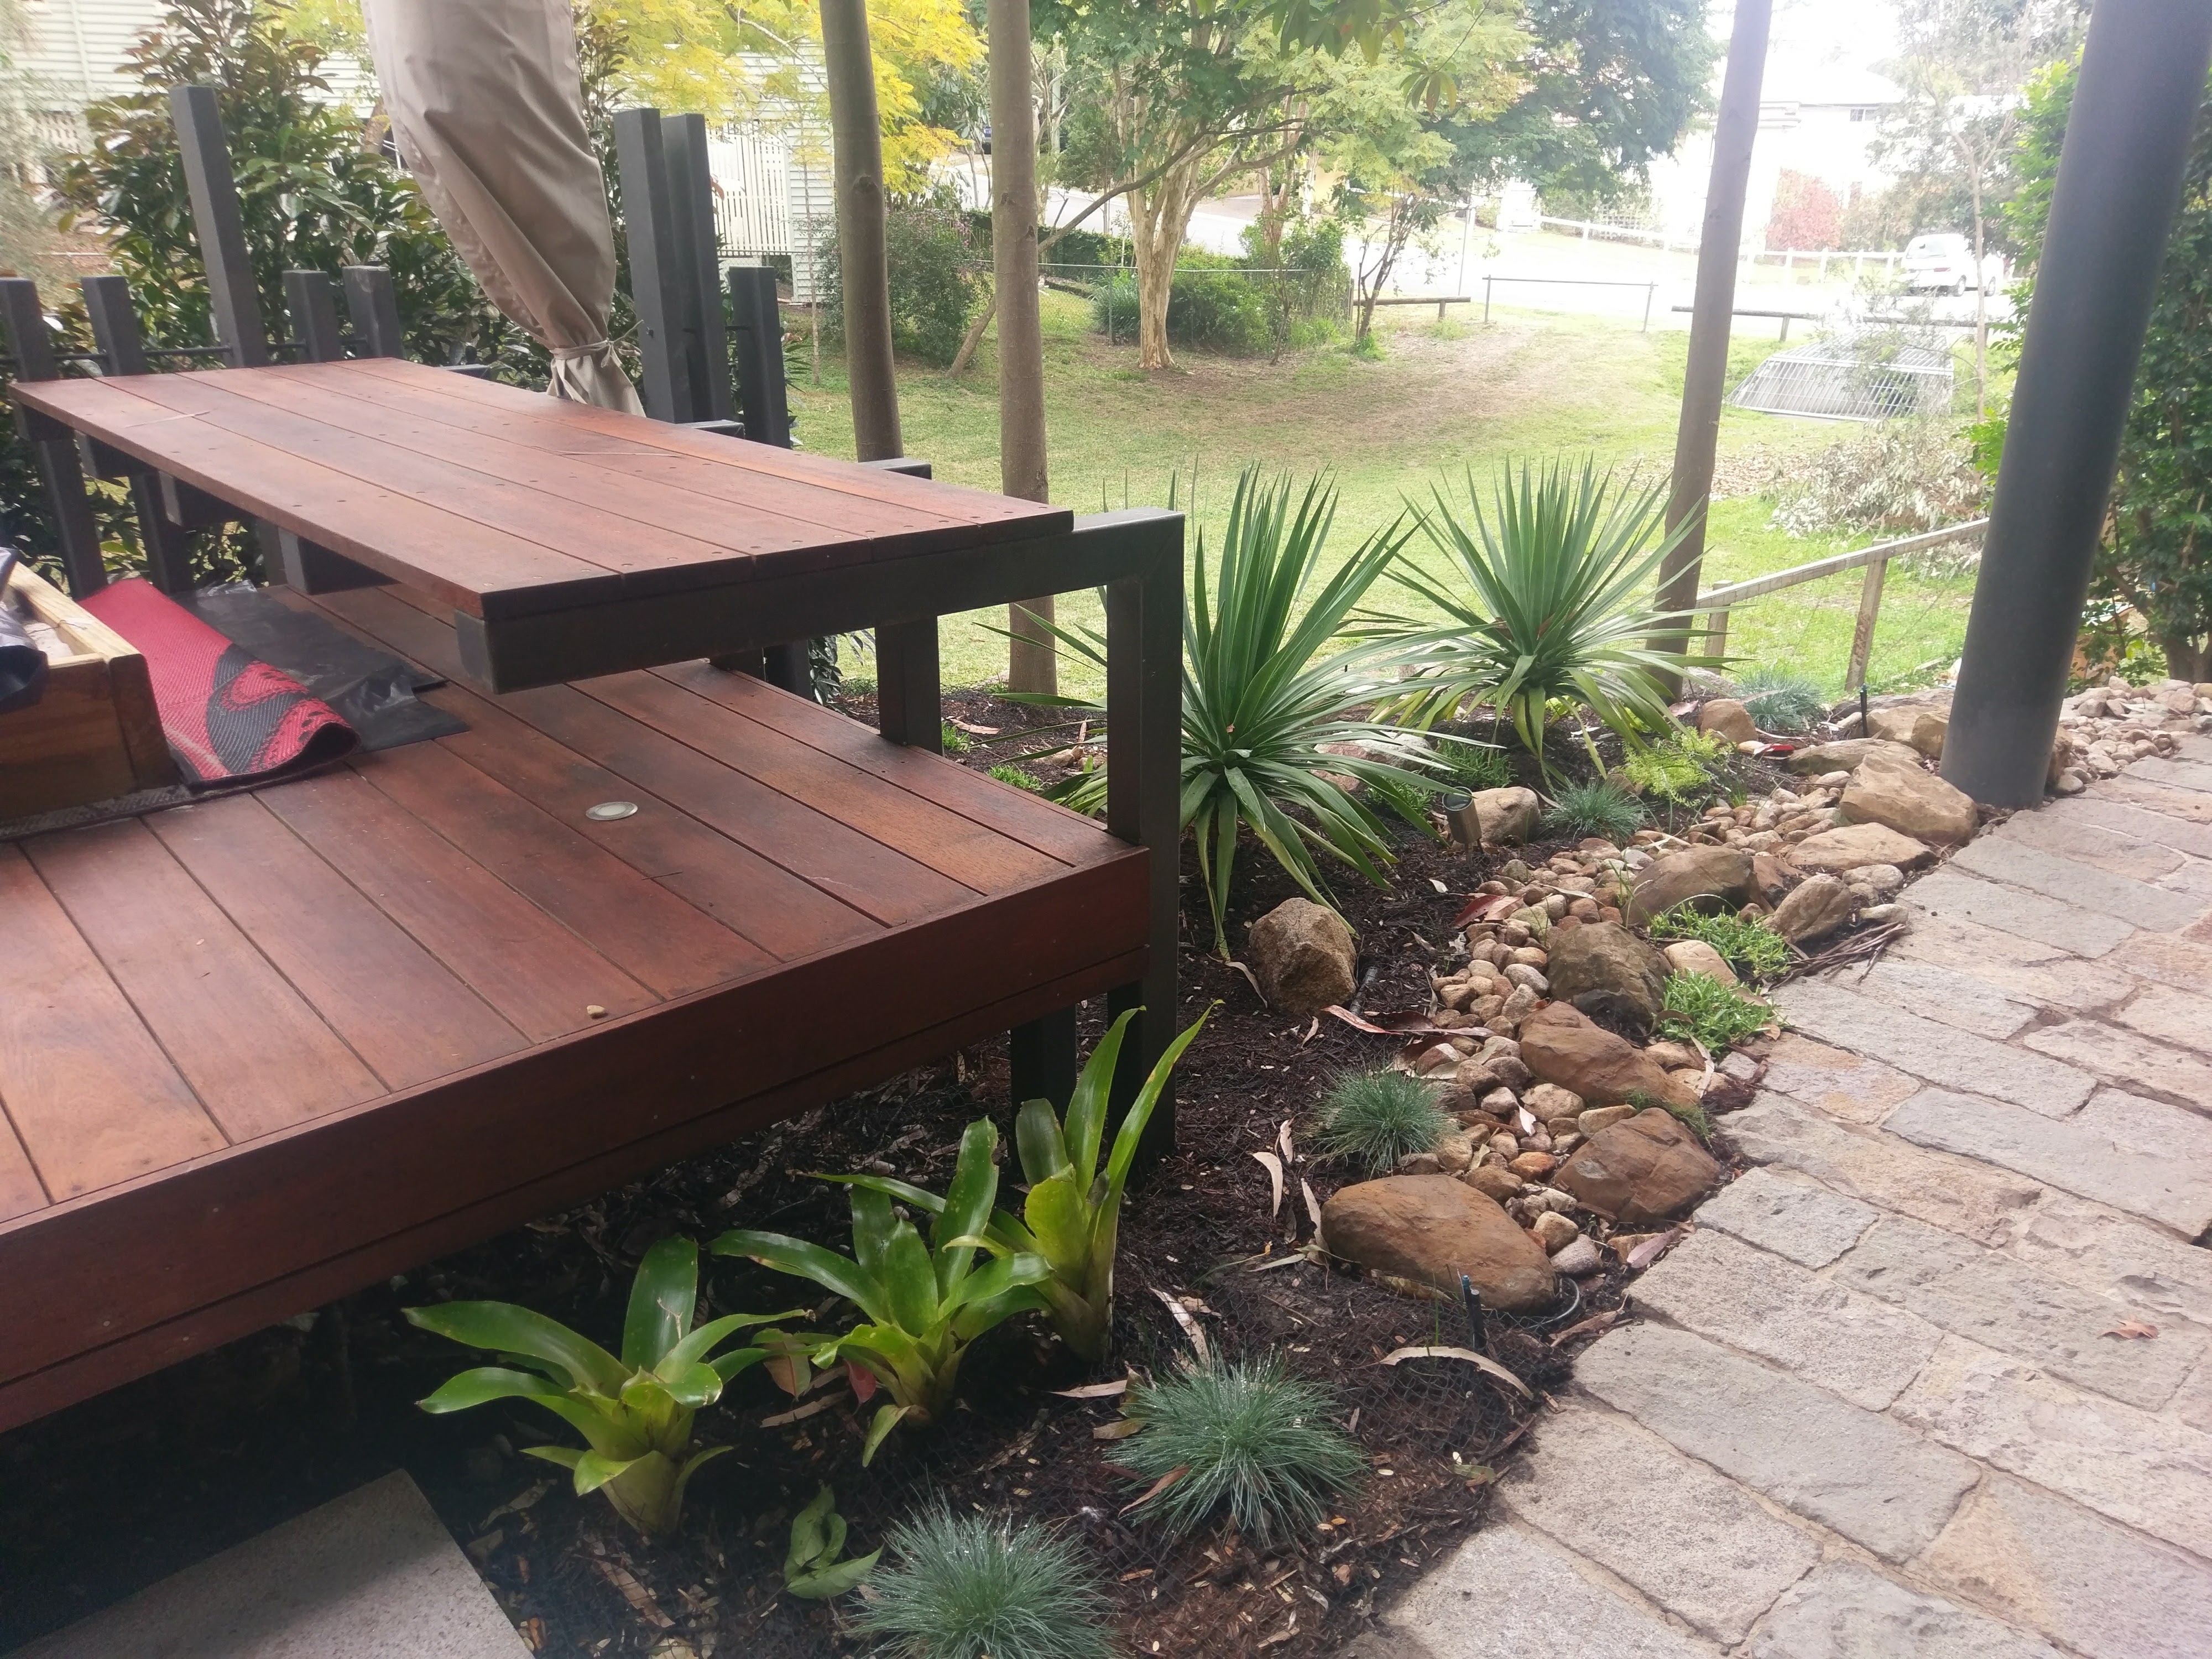
Decking & Seat Repair and Rejuvenation
Decking:- Cleaning & Repairs: The deck was cleaned, nails and damages were fixed, and the surface was sanded to a bare finish using an electric sander. Timber was prepared for staining with a high-strength cleaner.
- Staining: Three coats of natural timber oil were applied to stain and seal the deck.
- Maintenance: Timber seats were removed, and steel posts were sanded, painted with cold gal, and coated with monument paint to prevent rust. The seats were reattached upon completion.
Cantilever Umbrella and Sandpit
Cantilever Umbrella:- Installation: A cantilever umbrella was installed on the back deck, attached to the deck base with multiple braces for stability.
- Construction: A sandpit was built from pine sleepers and treated pine. Two seats were added on either side. The sandpit was lined with 4 layers of 200UM black plastic to prevent sand escape and filled with white bay sand.
Planting & Mulch
Planting:
- Organic Soil: Organic garden soil and fertilizer were added to all planting areas.
- Feature Tree: A feature tree was planted in a large pot in the backyard, covered with mesh to deter bush turkeys.
- Garden Beds: Lillypilly Narrowleaf (9x) was planted along the pool edge garden bed for screening. Large Native Gardenias (3x) and Lillypilly Cascades (6x) were planted to enhance various areas. Advanced Eumundii (12x) were planted as a feature barrier, with additional plantings of Cordylines, Xanadu, Bromeliads, and Philodendron in shaded areas. Various ground covers and small native plants were added around the property.
Mulching:
- Application: Red cypress mulch was spread around newly planted and existing plants. The mulch was covered with flexible black PVC-coated welded wire mesh to deter animals.
- Trench Construction: A drainage trench was constructed to efficiently divert water along the side of the house and prevent water from flowing onto the path. The trench runs from the top of the footpath down the fence line, curving to fit the area between the pool pump and the bench seat, and continuing to the back stairs between the pool tiling and the paved area.
- Process: The area was excavated, waste and debris including smaller rocks were removed, and a socked Agi pipe was laid along the trench to aid in water drainage. The trench was then filled with drainage gravel wrapped in geofabric. Decorative gravel was spread on top to enhance visual appeal. Tumbled sandstone was used between the paving and tiling for a soft and attractive finish.
.jpg)

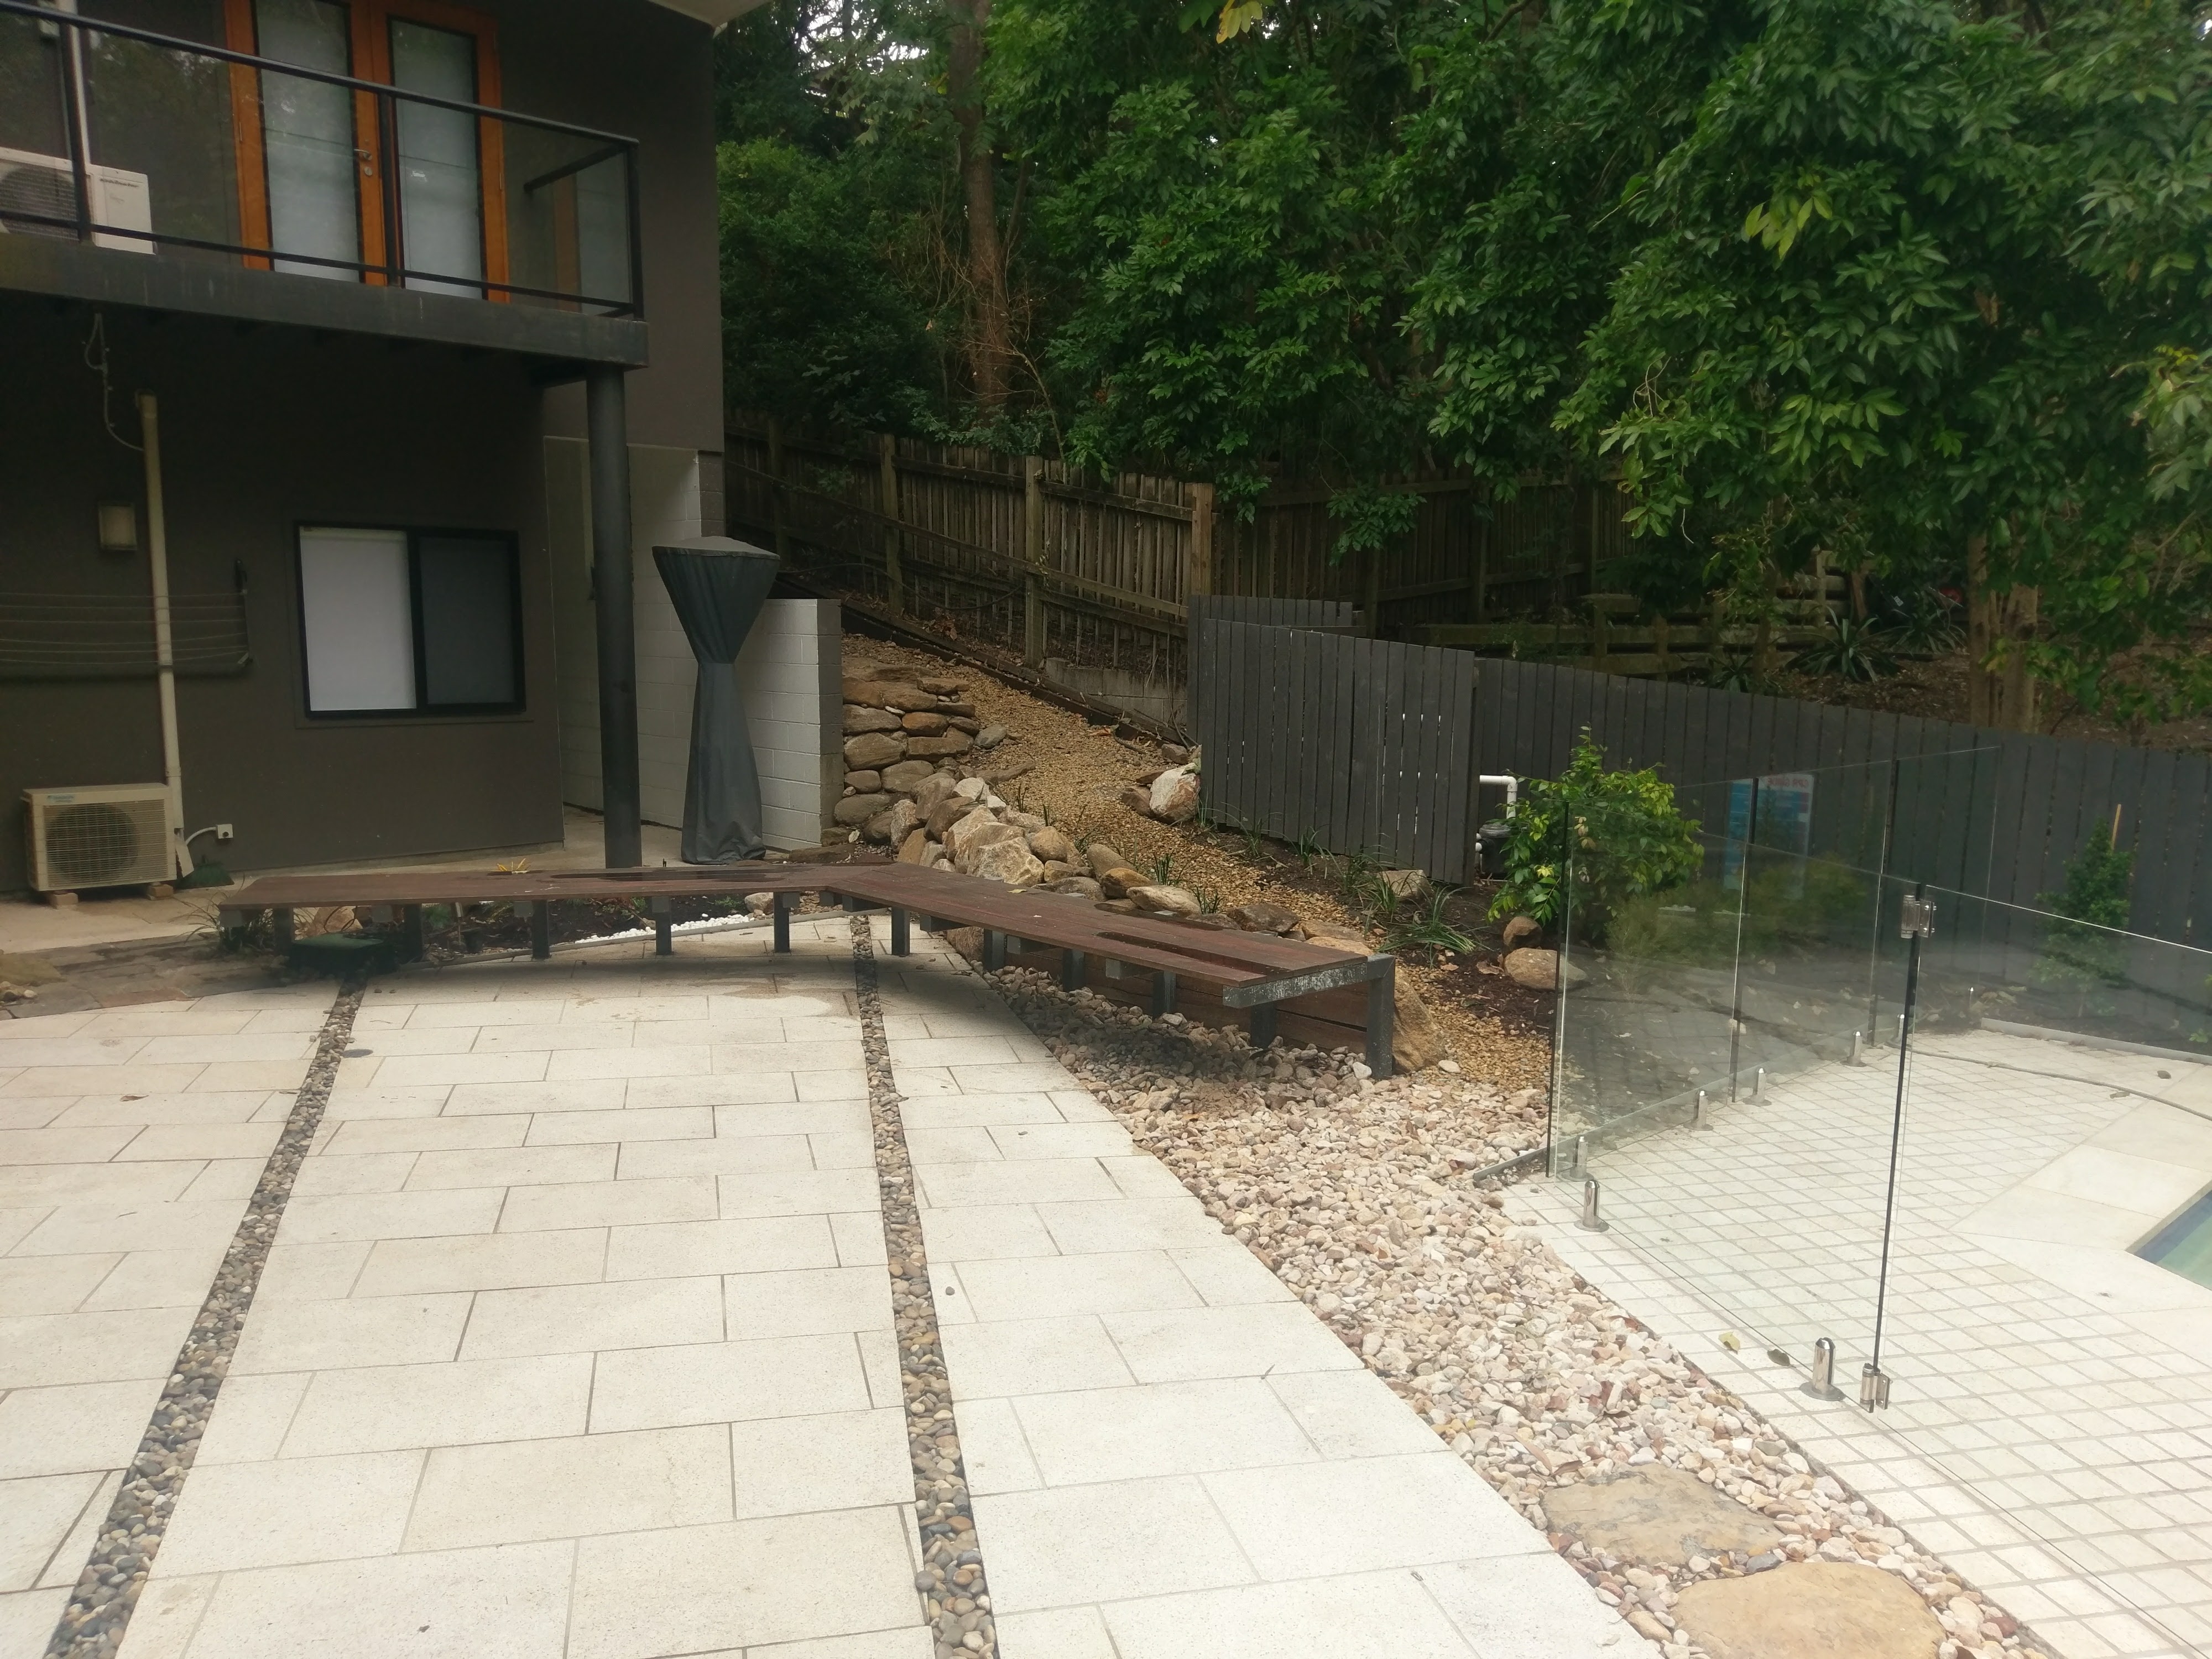

Bringing Your Vision to Life
This project was aimed at delivering a stylish landscape that not only provides privacy but also enhances the visual appeal of the
property.
Contact Us
Ready to transform your outdoor space? Contact Whole Yards today to schedule a consultation and start your journey towards a more beautiful
and functional backyard.